Are you looking to prepare homemade pizza, but you don’t have a stone? Why not grill it? Making pizza on a grill is not as unconventional as it seems. Traditional Neapolitan pizza has always been made using wood-fired ovens.
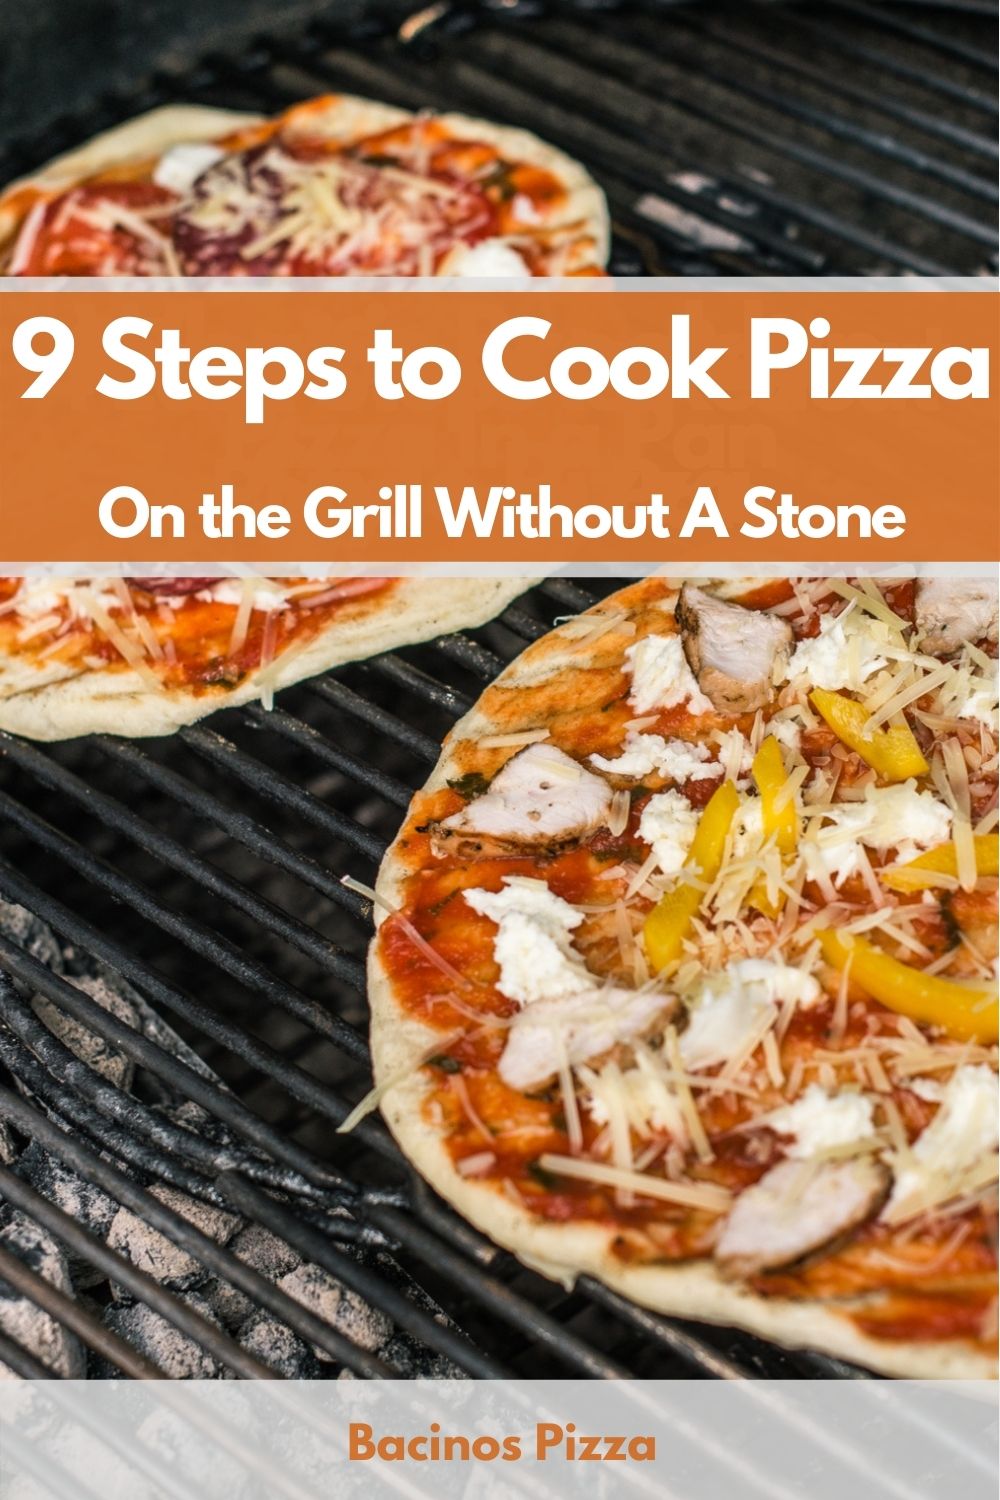
Grilling pizza can give it a restaurant-style crispiness and a unique smoky flavor. The good news is that you can grill pizza at home, especially during those hot summer days when you don’t feel like cranking up the oven. Read on for a guide and tips on how to cook pizza on the grill without a stone.
What You Will Need
- A grill
- A pair of tongs or a spatula
- Baking sheet
- Olive oil
- Kitchen brush
Step-By-Step Guide On Cooking Pizza On The Grill Without A Stone
Follow these easy steps to grill pizza even if you don’t have a pizza stone.
Step 1: Get The Dough Ready
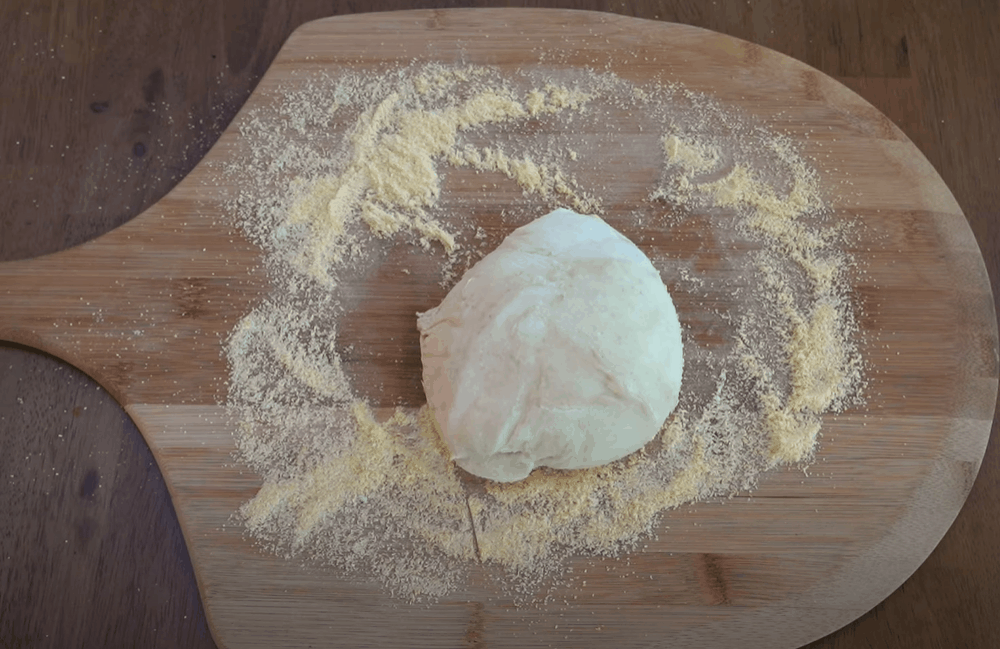
Grilled pizza will come out great whether you use store-bought dough or you make the dough yourself. If your dough is frozen, thaw it in the fridge for 3 to 4 hours before using it.
Take the dough out of the fridge an hour or two before grilling to let it come to room temperature. Drizzle a few drops of olive oil over the thawed dough and cover it with plastic wrap or a kitchen towel.
Place the dough on the countertop for 30 minutes to one hour to proof it. Proofing at room temperature makes it easier to work with the dough.
Step 2: Prepare The Toppings And Heat The Grill
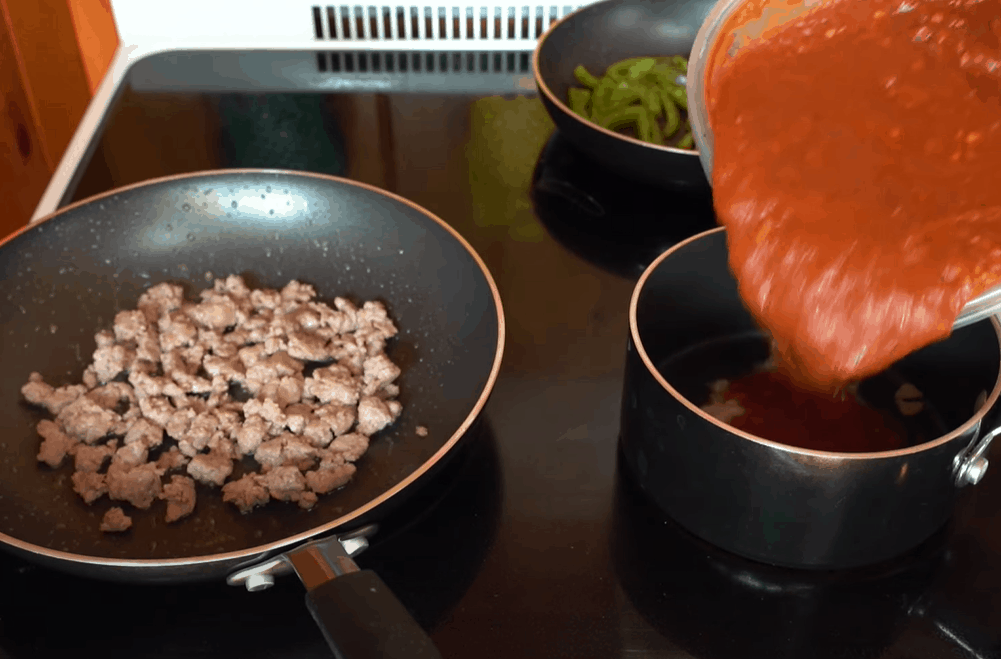
As you wait for the dough to proof, now is an excellent time to prepare your favorite grilled pizza toppings.
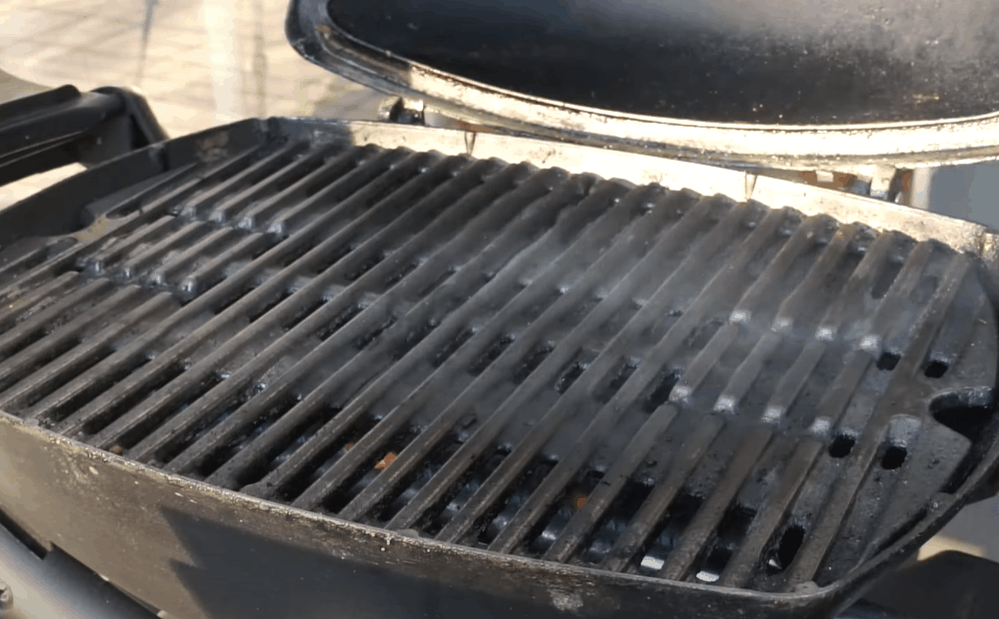
You also want to heat your grill like when you preheat an oven. Allow the grill to heat for 20 minutes to a temperature of 500 degrees Fahrenheit. Cooking pizza on the grill on high heat gives it a crispy bite on the outside and an ideal chewiness inside. It also keeps the dough from sticking to the grates.
Step 3: Shape The Pizza Dough
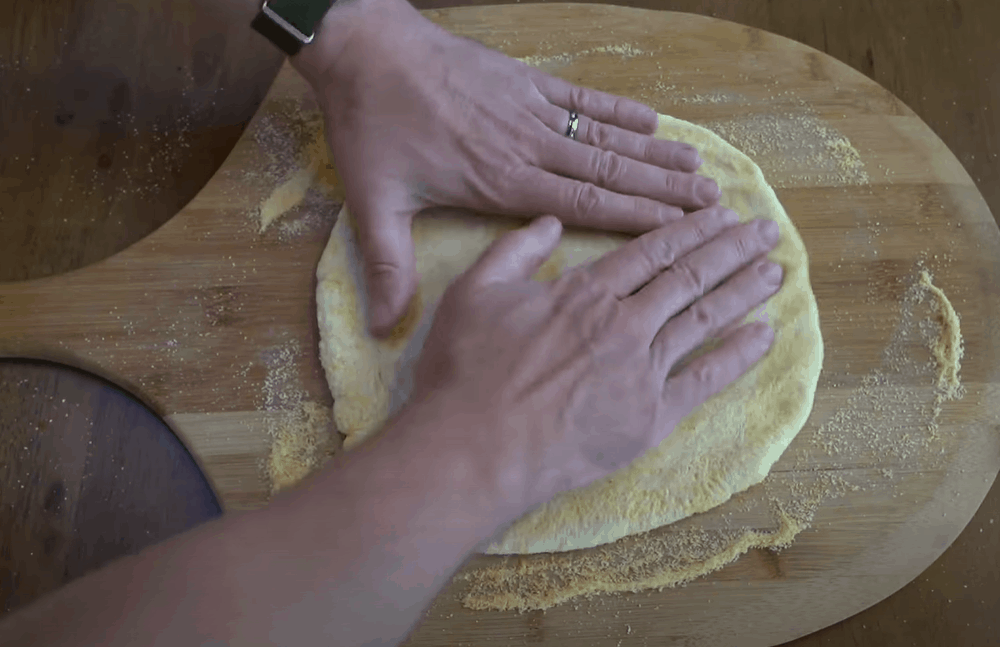
Shaping it into a pizza base should be easier once you proof your pie dough. Flour your hands and the countertop or table from where you will shape your pizza. It will prevent the dough from sticking to your hands and working surface.
Next, flatten the ball of dough using your palm. Allow the dough to rest for an additional 3 to 5 minutes. Then, use your fingers to spread the dough to make a circular base.
Don’t worry about attaining a perfect circle. Keep spreading out the dough and flouring it as necessary. Lift the dough and let it hang with the center sitting on the palm of your hand. It will allow the dough to stretch out further.
Put the dough back on the work surface. Continue using your fingers to even out and spread the dough, ensuring all edges are of an equal thickness. Here is a helpful video if you would like to learn more about how to shape pizza dough like a pro.
Pro Tip: Don’t raise the rims too high when making the pizza base. It will ensure the dough grills properly and achieves the desired texture.
Step 4: Oil The Grill
One concern most people have with cooking pizza on a grill without a stone is that the dough will fall through the grill grates. Admittedly, I was worried about this too, but you can rest assured that this will not happen.
Immediately the dough touches the hot grill, it contracts and firms up to form a solid base. The base will hold your array of toppings and will not melt and ooze through the grates.
To kickstart grilling your pizza, brush the grill grates using a small kitchen brush dipped in olive oil. It will keep the dough from sticking to the grill. The olive oil will also elevate the dough’s flavor.
Step 5: Grill One Side Of The Pizza Base
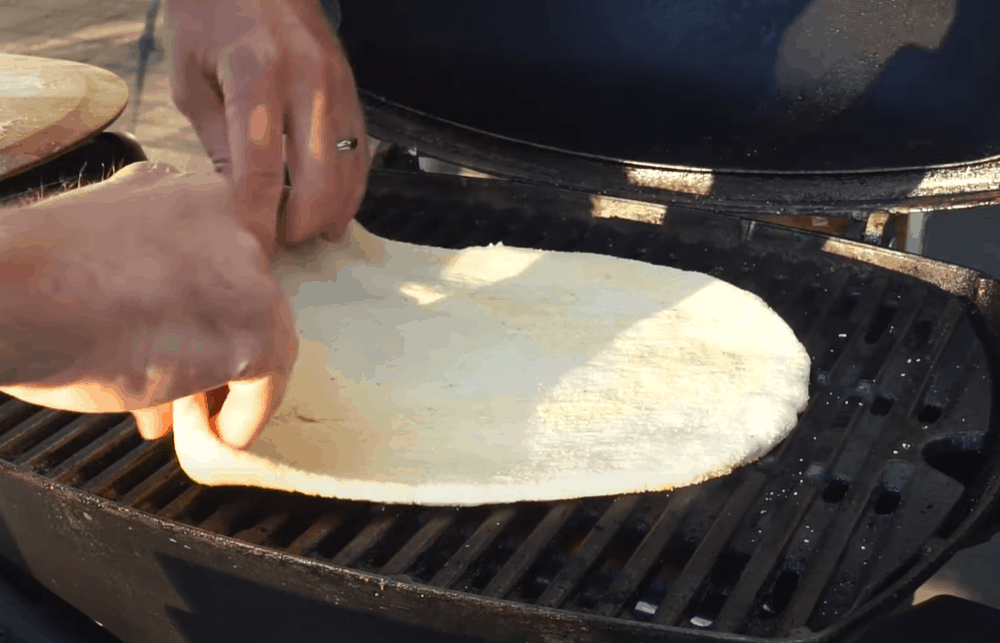
Now, with a hot and oiled-up grill, your pizza is ready for grilling. Grab the pizza dough and place it on a floured baking sheet.
The flat sheet will help to slide off the dough directly onto the grill grates. Tilt the baking sheet at an angle over the grill and let the pizza slide onto the grates.
Cover the grill and wait for 3 minutes for the dough to cook. The pizza base will char a bit and give a delicious, smoky aroma and flavor. The dough cooks very fast on a hot grill. Keep a keen eye to prevent it from burning.
Step 6: Inspect The Dough

Ideally, the dough’s underside should brown within 2 to 3 minutes if the grill is sufficiently hot. Before flipping the dough to grill the other side, ensure the bottom is fully cooked. There are a couple of ways to do this.
First, check for air bubbles on the top side of the dough. If these haven’t formed yet, close the grill and give it an extra minute. Air bubbles might take longer to develop if the grill was initially not hot enough.
Another way to check for doneness is to slightly lift the dough to check for browning on the underside. Again, if the pizza base has been browned evenly, it is time to flip it to cook the other side.
If three minutes have passed and the dough is not yet browned, the grill was likely not hot enough. Cover the grill and cook for another two minutes until the underside turns a light brown.
Step 7: Flip The Dough
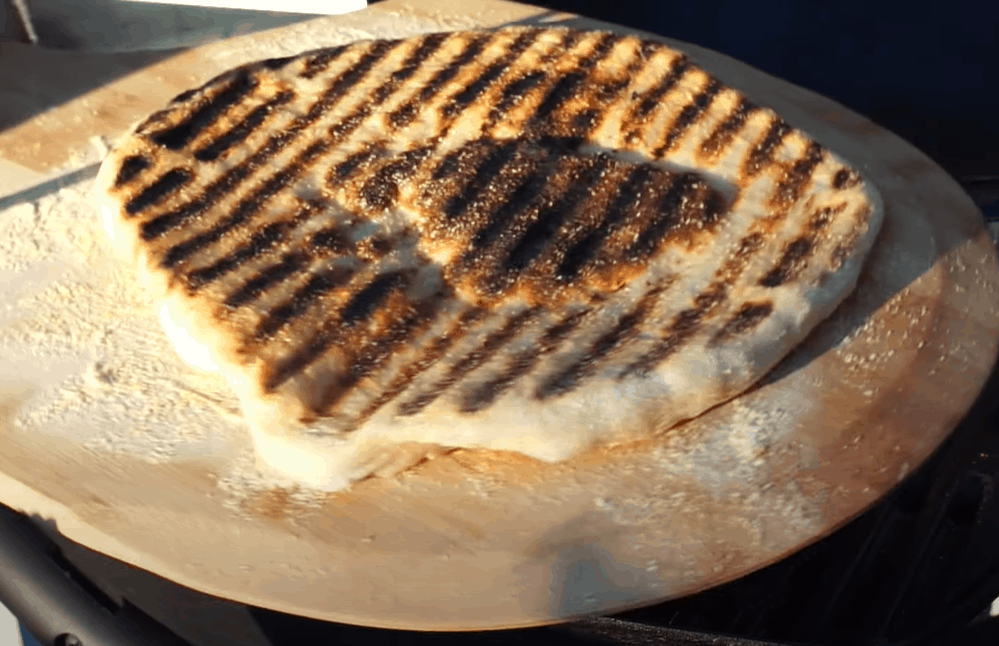
After baking the underside, it’s time to cook the top-facing side of the pizza base. Using a spatula or a pair of tongs, flip the dough so that the top side faces down. Do this gently to avoid tearing the dough.
If your pizza dough is big, I recommend using the baking sheet to help flip the dough. It will prevent the large dough from possibly tearing. Cook the dough for three minutes or until it browns.
Pro Tip: Opening the grill cover can cause heat loss. Before flipping the dough, cover the grill for five minutes to get it to heat up once more.
Step 8: Add Toppings

Time is of the essence when it comes to topping your grilled pizza. You will build your pie on the grill, so you want to add your toppings fast enough to get the cheese to melt without burning the pizza base.
There are a couple of things to keep in mind when adding toppings to a grilled pizza, especially when you aren’t using a pizza stone. First, you should be moderate with the sauce. A single layer is enough to give the pie the right balance of flavor without making the base soggy.
Second, avoid overloading your pizza with toppings. It will only weigh down the crust, causing it to break. The secret to a perfectly grilled pizza is a thin, crunchy crust with a well-balanced dash of your favorite toppings.
When adding toppings, a good rule of thumb to recall is 1 cup cheese, 1 cup toppings, and ½ cup sauce.
Step 9: Let The Cheese Melt
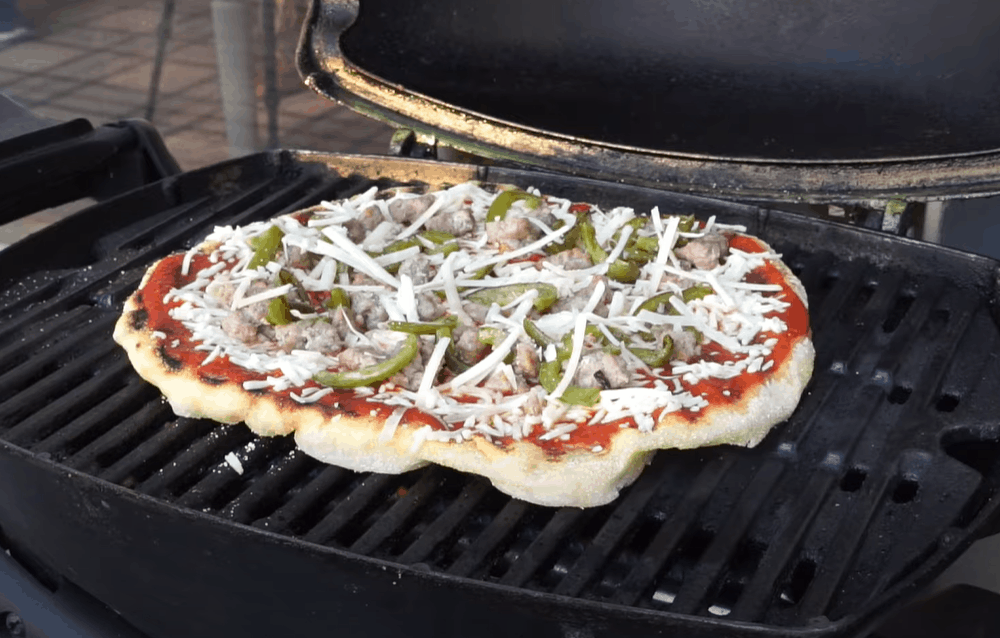
Cover the grill again once you add the toppings to get the cheese to melt. One minute is usually enough to melt the cheese while keeping the pizza base in a safe zone where it is neither too crunchy nor charred.
If you cannot add the toppings fast enough while the dough is on the grill, leave it on the baking sheet and add the toppings before sliding it back onto the grill. As usual, cover the grill for three minutes for the underside of the dough to cook and the cheese to melt.
Once done, use a pair of flat tongs to pull it onto a serving tray. Slice, serve warm, and enjoy!
More Tips
- To keep the dough from sticking to the grates, try using rice flour instead of regular flour to shape and stretch the dough. Rice flour burns at a higher temperature than standard flour, keeping the dough from burning.
- Arrange the charcoal correctly so the pizza base can cook evenly without burning and hardening the center. Try arranging a coal bend around the sides or circumference of the grill (depending on the shape) and leaving just a few lit-up charcoals in the middle.
- If you overheat the grill, the dough might cook too fast on the outside and remain uncooked inside. In this case, allow the grill to cool down a bit before placing the dough on it. It will provide just enough heat to cook the dough evenly.
Frequently Asked Questions
1. Does pizza stone make a difference when used on a grill?
Yes, pizza stones mimic the effect of a traditional brick oven. And as a result, you can expect an evenly cooked pizza with a crisp base.
Think of this tool as the point of high heat transfer. The stone absorbs the increased temperature from the grill, retaining it for a long time. Once you place your pizza on it, it will cook quickly compared to not using one.
2. What are pizza stone alternatives I can use on a grill?
Using a hot grill alone is good enough to make a delicious grilled pizza. But if you like to try other ways with pizza stone alternatives, you can use a cast iron pan.
This heavy-duty cookware can absorb and retain heat, giving you an excellently cooked pie. To do this, preheat the grill first to 450 to 500 degrees. Once the temperature is high, place the skillet pan with the pizza, then close the grill cover.
Cook it for 12 to 15 minutes, and it’s ready to serve.
3. Can I cook pizza on aluminum foil on the grill?
Aside from pizza stone and cast iron pans, aluminum foil is another excellent substitute. First, you need to reach an internal temperature of 400 degrees in your grill. Then, place a non-stick aluminum foil directly on the grill with the smooth side up. That way your dough won’t stick to the wrap.
Par-bake the crust until it starts to bubble and brown. Lastly, add your choice of toppings and place it back on the grill again.
No Pizza Stone? You Can Still Grill It!
You don’t have to be a professional pizza chef to cook pizza on the grill without a stone. The secret to the perfect grilled pizza is to start with a well-proofed dough.
Being moderate with your toppings will also give you a light and crunchy yet filling pie. So, don’t let the lack of a stone keep you from making and enjoying the tantalizing flavors of lightly charred, smoky grilled pizza

Barbara is an enthusiastic food-exploring person that goes through different culinary experiences. She got inspired by creating a pizza blog post after she tasted one of the best-selling pizzas in Toledo.