The key to a perfect homemade pizza is the crust. So how do you get it thin and crispy? Crunchy at the edges and flexible enough to fold in the middle?
The answer is by stretching the dough. If you’re new to pizza making, this can be daunting—but don’t despair! We’ll walk you through how to stretch pizza dough step by step. And when we’ve finished, you’ll be confident in crafting the pizza dough of champions!
So without further ado, step this way for perfect pizza!
Tools And Equipment
- Half a pound of pizza dough
- Bowl
- Olive oil
- Kitchen towel
- Plastic wrap
- Pizza peel or sheet pan
- Baking parchment
- Cornmeal
Step-By-Step Guide On How To Stretch Pizza Dough
Step 1: Bring Your Dough To Room Temperature
Stretching your pizza dough will be more manageable when at the right temperature. And that means room temperature.
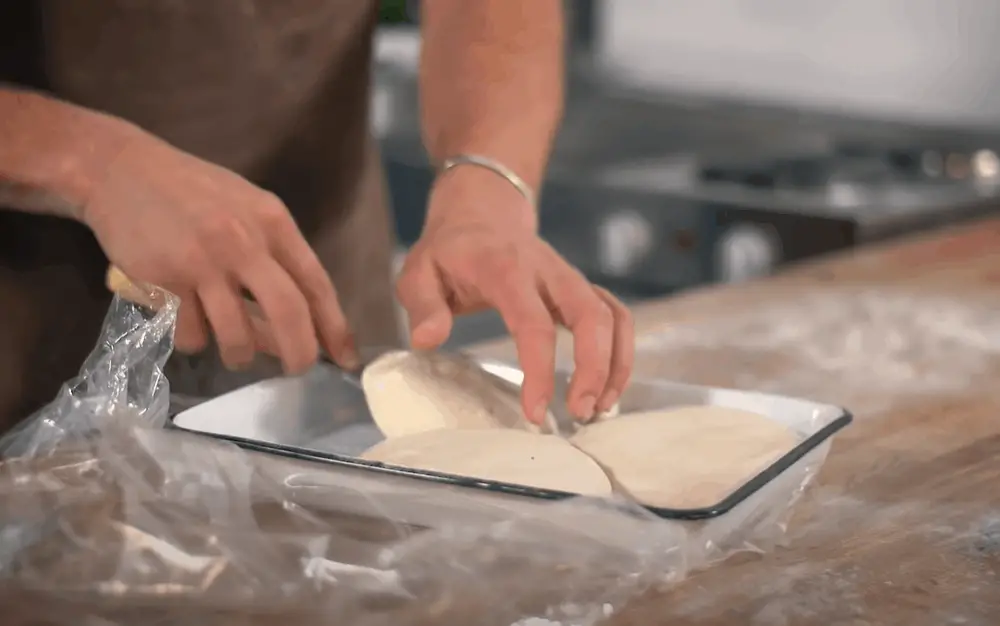
If you’ve just made your dough—take a bow! The time to turn to this preparation stage is at the end of its first 1.5 to 2-hour rise period. But if you’ve bought your dough, take it out of its plastic wrapping now. If you have a frozen dough, make sure to properly defrost it first.
Rub a few drops of olive oil over the inner surface of your bowl. We find it’s easiest to do this with a paper towel. Now place your dough inside and cover the bowl with plastic wrap. That will keep it airtight, as the dough proves.
Put the bowl in a warm place for at least 30 minutes. If you have an oven with an ultra-low setting – around 80 degrees Fahrenheit – that’s a good option.
This step will soften up the gluten in your pizza dough. If you try to stretch the dough when it’s cold, it will snap back, causing no end of frustration!
While you’re waiting, remove any watches or rings you’re wearing. That will avoid any risk of them tearing the dough.
Step 2: Prepare Your Pizza Peel Or Baking Sheet

If you’re serious about pizza making, you may have invested in a pizza peel. It is a tool that looks like a shovel, with a wide flat surface to place your pizza into the oven.
But if you don’t have a pizza peel, don’t worry! You can get just as good results using the back of a baking sheet or pan.
Whichever surface you’re using—you may cover it with baking parchment and sprinkle some cornmeal on top. That will prevent your dough from sticking to the surface when it goes into the oven.
Step 3: Prepare Your Work Surface
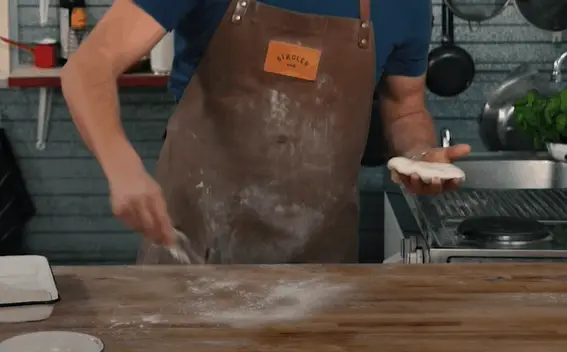
The next step is to prepare your work surface to avoid the dough sticking to that too.
When working with most dough, you’d sprinkle your counter with flour. But don’t do that here. It will make your pizza base too heavy.
Instead, drip between 2 and 3 tablespoons of olive oil onto your work surface and rub it in lightly. Add a drop or two to your hands as well.
Your hands will be in frequent contact with the dough throughout this process.
The oil will perform a dual function. Not only will it stop your dough from sticking to your counter and hands, but it will also help give your crust color and texture.
Pro tip: The olive oil here acts primarily as a lubricant, so you don’t need to be too fussy about the kind you use. But if you want to do everything possible to impart the perfect flavor to your crust, use extra virgin.
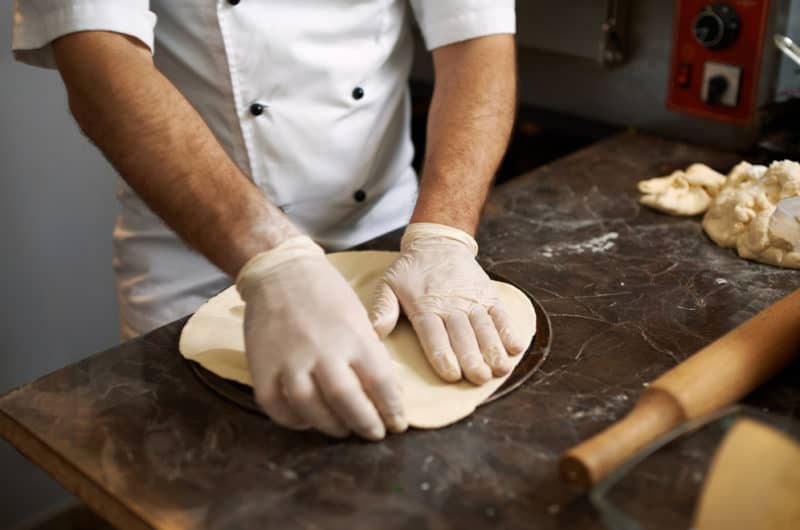
Step 4: Create A Flat Disc
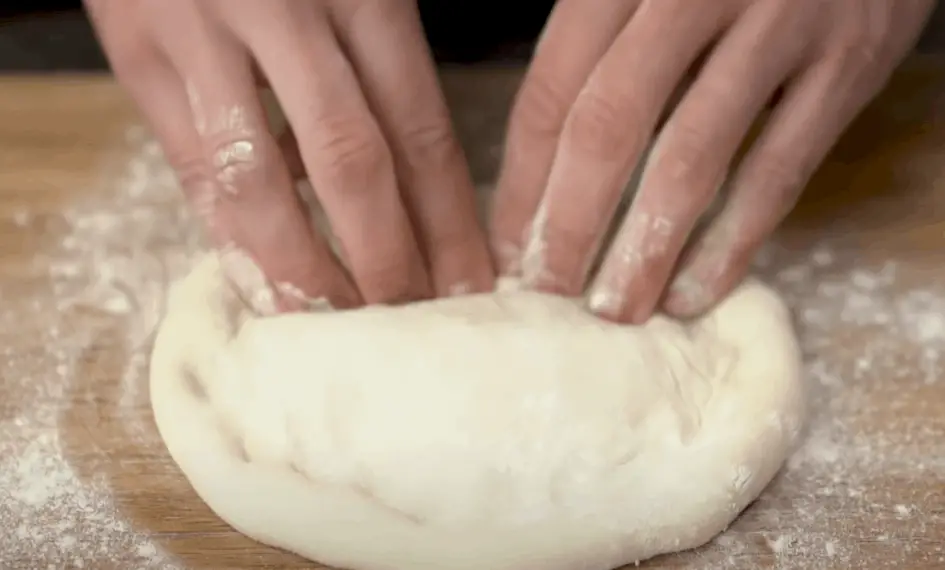
Once the dough finished resting in its warm place for half an hour, it’s time to start working it. The first step is to turn that round ball into a flat disc.
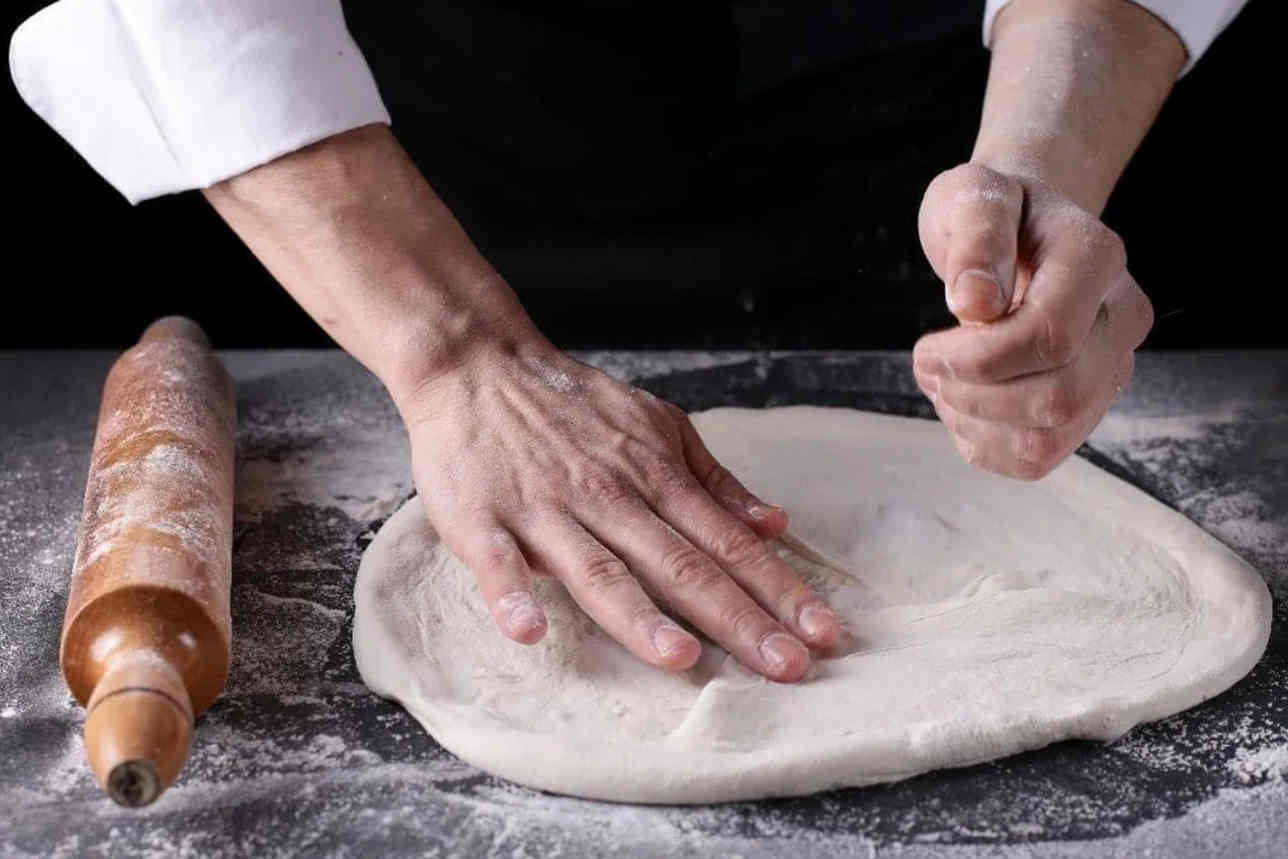
To do that, empty it onto your oiled work surface. Then, using the palm of your hand, press it into a flattish circle.
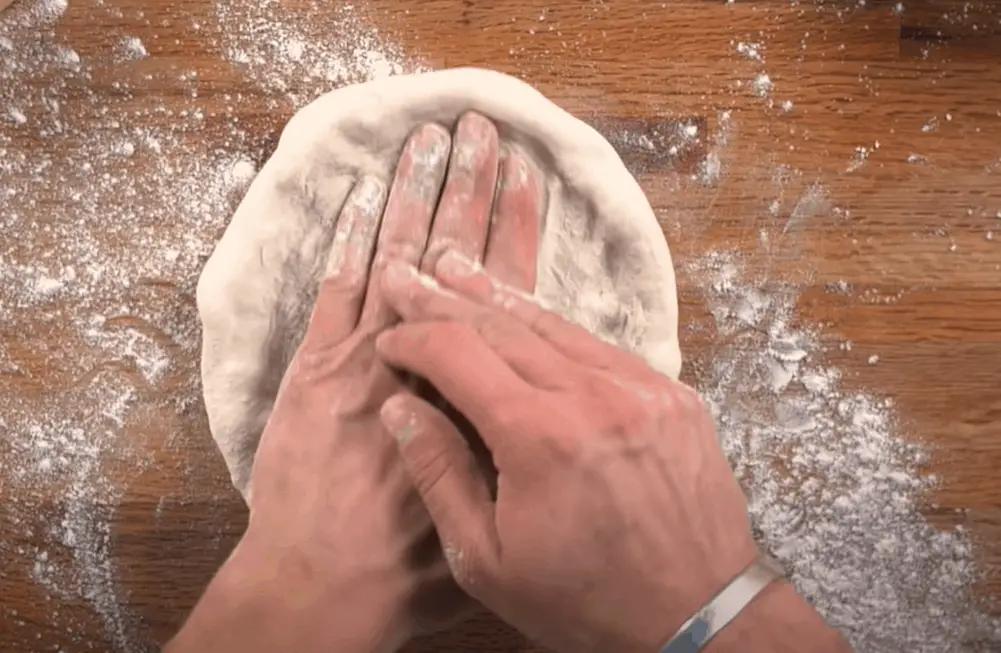
Now we’re going to make the circle bigger. Press the center of the dough with your fingers to gradually spread it out. Leave around half an inch of dough untouched around the edge. It will form the outer crust.
Keep pressing until the circle of dough is about half an inch thick. If you’re using half a pound of dough per pizza, it will be about 6 inches across. But don’t worry too much if you don’t have a perfect circle. For more detailed instructions on the preceding process, you may want to check out our guide on “7 Steps To Knead Pizza Dough“.
Pro tip: We’ve found a good technique for spreading the disc is to use the three middle fingers of each hand. That will allow you to place consistent pressure on the dough and help the circle expand more evenly.
Step 5: Allow Your Dough To Rest If Need Be
This next step depends on how your dough is behaving at this point.
If it shrinks back slightly and gradually when you press on it, it’s okay—you can skip this step. But if it snaps back quickly, like a rubber band, it means it needs to rest again.
Leave it on top of your worktop with a clean kitchen towel over the top. Wait for between 15 and 20 minutes. Now revisit the previous step, flatten the disc until it’s half an inch thick. If it snaps back quickly again, repeat the process.
Keep going until you have a half-an-inch thick circle of dough that can hold its shape well.
Step 6: Stretch The Dough
We’ve all seen those Italian pizza chefs spinning the dough on their knuckles and flipping it in the air. Now it’s time for you to do the same.
Just kidding! As impressive as that looks, you’ll get much better results starting by keeping it simple. The technique we’ll talk you through lets gravity do the hard work.
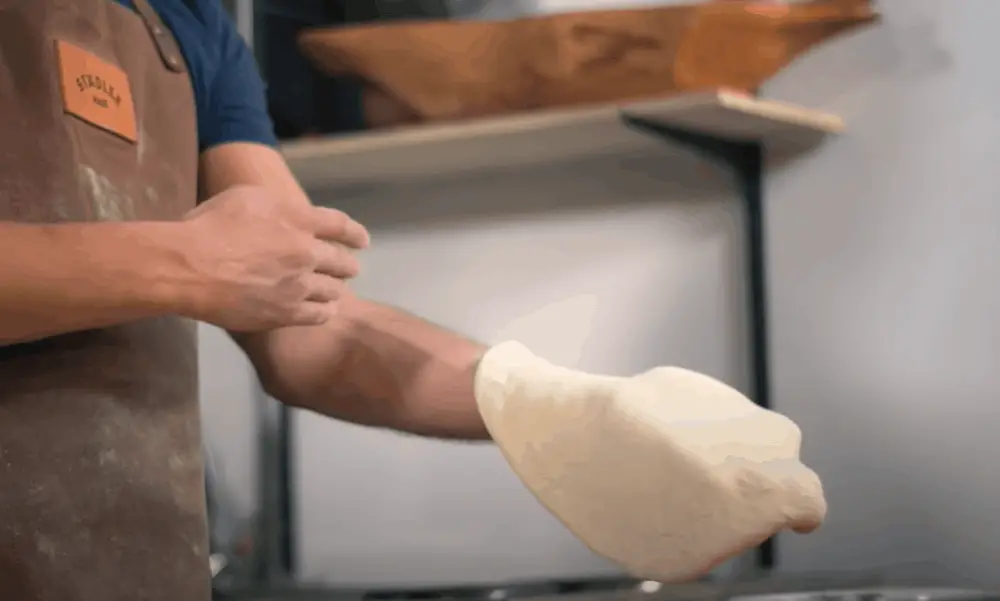
Pick up your circle of dough with both hands on one edge. Let the rest of the disc hang down towards your worktop. Now slowly turn the disc, moving it from one hand to another. The movement you’re aiming for is like pivoting a steering wheel.
Pinch the dough between your fingers as you turn it. You can pinch at the edge or a little closer to the center. If you work closer to the middle, your outer crust will be thicker when your pizza comes out of the oven.
This YouTube video from Ooni Pizza Ovens demonstrates how it’s done. The bit to look at is Step 3.
Stop when your pizza base is about 1/3-inch thick and about 11 inches across.
Step 7: Iron Out Any Imperfections
Now place your dough disc above your prepared baking sheet or pizza peel. Then, give it a good inspection: If it’s perfectly round and uniform— Congratulations! You’ve pulled off pizza perfection!
But if it’s looking unideal, don’t worry. We’re going to sort that out now.
If you’ve got any bits of the crust, preferably more than 1/3-inch thick, merely press them out. And if you’ve got any thin bits, thicken them up. To do that, use your thumb and index finger to press the dough around them in a pinching movement.
And don’t worry if your pizza’s outer edge looks the same as the middle right now. That will all change once the toppings provide extra weight. And the outside edge will puff up once it goes into the oven.
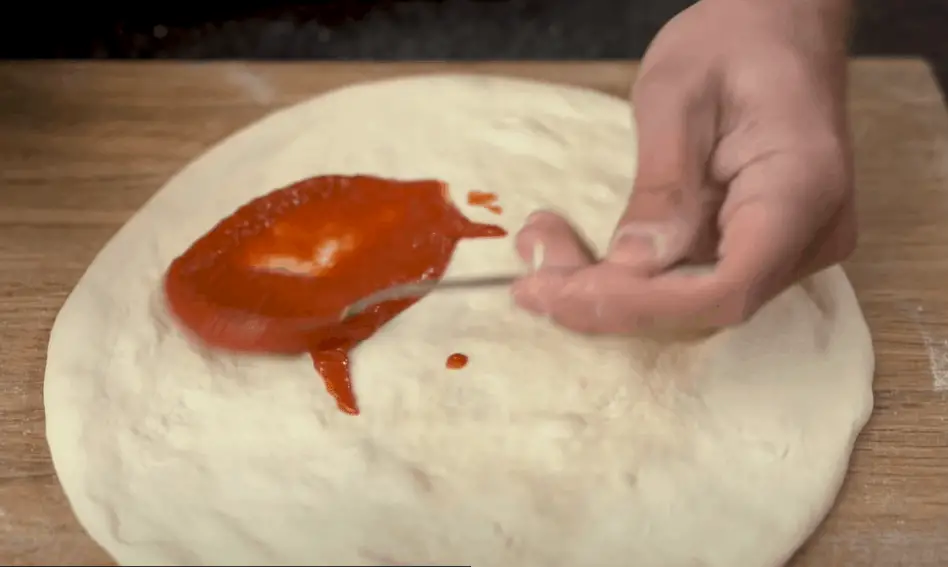
Your base is now ready for adorning with the toppings of your choice!
Extra Tips
- If you have time, you can allow your pizza dough to rest for up to four hours. It will be fine if you secure a plastic wrap above your bowl.
- Are you looking for a classic Neapolitan-style base? Hold your dough up to the light. You should be able to see the light through it when it’s adequately stretched.
- If you want to take your dough stretching to the next level, you can add an extra step after the “steering wheel” move. Use this to target any parts of your dough that are too thick.
- With the dough in both of your hands, place one hand under the other, as if you were holding a large mug or bowl. Then pull your hands slowly apart, lifting your fingers as you do so. Take care not to press straight up into the dough. If you do that, you can tear it.
- It’s a good idea to flip your dough over from time to time as you’re lengthening it. That will give you an even consistency on both sides.
- Give your pizza peel or baking sheet a gentle shake before using it in the oven. If the dough moves slightly, you can be confident it won’t stick when it starts baking.
Frequently Asked Questions
1. Why won’t my pizza dough expand?
One of the reasons behind this is inadequate fermentation. Luckily, there are three possible solutions to this dilemma.
First is by increasing the yeast by 10% for the next batches of dough. The second is to target a temperature of 60° Fahrenheit before working on it. And lastly, avoid placing it in overly cold storage—it will prevent the dough from expanding.
2. Do you stretch pizza dough cold or warm?
Always warm up your dough before stretching! If it’s cold, it will only snap back to its previous form. Of course, nobody wants to waste their time lengthening and pulling with a stubborn base. So take time for the proteins to loosen and wait at least 30 minutes.
3. Why does my pizza dough tear after stretching it?
The first thing you need to secure is the recipe you’re using. Does it ensure proper gluten development? Does it recommend the ideal flour for dough hydration? Did it explain the correct kneading technique? If you feel like it’s missing something, it’s better to look for another recipe that would work for you.
Another thing you should consider is the stretching technique. If you’ve got heavy hands, high chances are, it will break easily. That is if you’re targeting a thin-crust pizza. Remember also that the method varies depending on the pizza style.
4. Should I roll or hand-stretch my pizza dough?
That depends on the style you want to achieve. If you prefer thick-crust pizza, it’s best to go with hand stretching. But if you want the opposite, you can use a rolling pin to make it thinner. When you do this, ensure that you don’t over-deflate the dough.
Leave a thin unrolled layer to prevent a dense part. If it’s already flattened out, you can poke tiny holes to dodge air pockets from forming once baked.
Ready To Make Your Pizza At Home?
We hope our guide has given you the confidence to stretch pizza dough! It can be an intimidating part of the pizza-making process, but there’s no reason even beginners can’t get great results.
Just take your time through each stage. And if you find things aren’t working out, you can always return to the previous step and try again.
If you’ve tried stretching pizza dough, we’d love to hear from you. And if you have any hints and tips, please comment and share them. Happy pizza making!
7 Steps to Stretch Pizza Dough
Ingredients
Half a pound of pizza dough
Bowl
Olive oil
Kitchen towel
Plastic wrap
Pizza peel or sheet pan
Baking parchment
Cornmeal
Directions
- Bring Your Dough To Room Temperature
- Prepare Your Pizza Peel Or Baking Sheet
- Prepare Your Work Surface
- Create A Flat Disc
- Allow Your Dough To Rest If Need Be
- Stretch The Dough
- Iron Out Any Imperfections

Julie has five years of experience in the restaurant industry, she decided to share her knowledge about her liking and fondness for food and pizza, of course, cooking as her love language. She’s very passionate about what she’s doing, making all the things she writes regarding pizza recipes, very amazing!