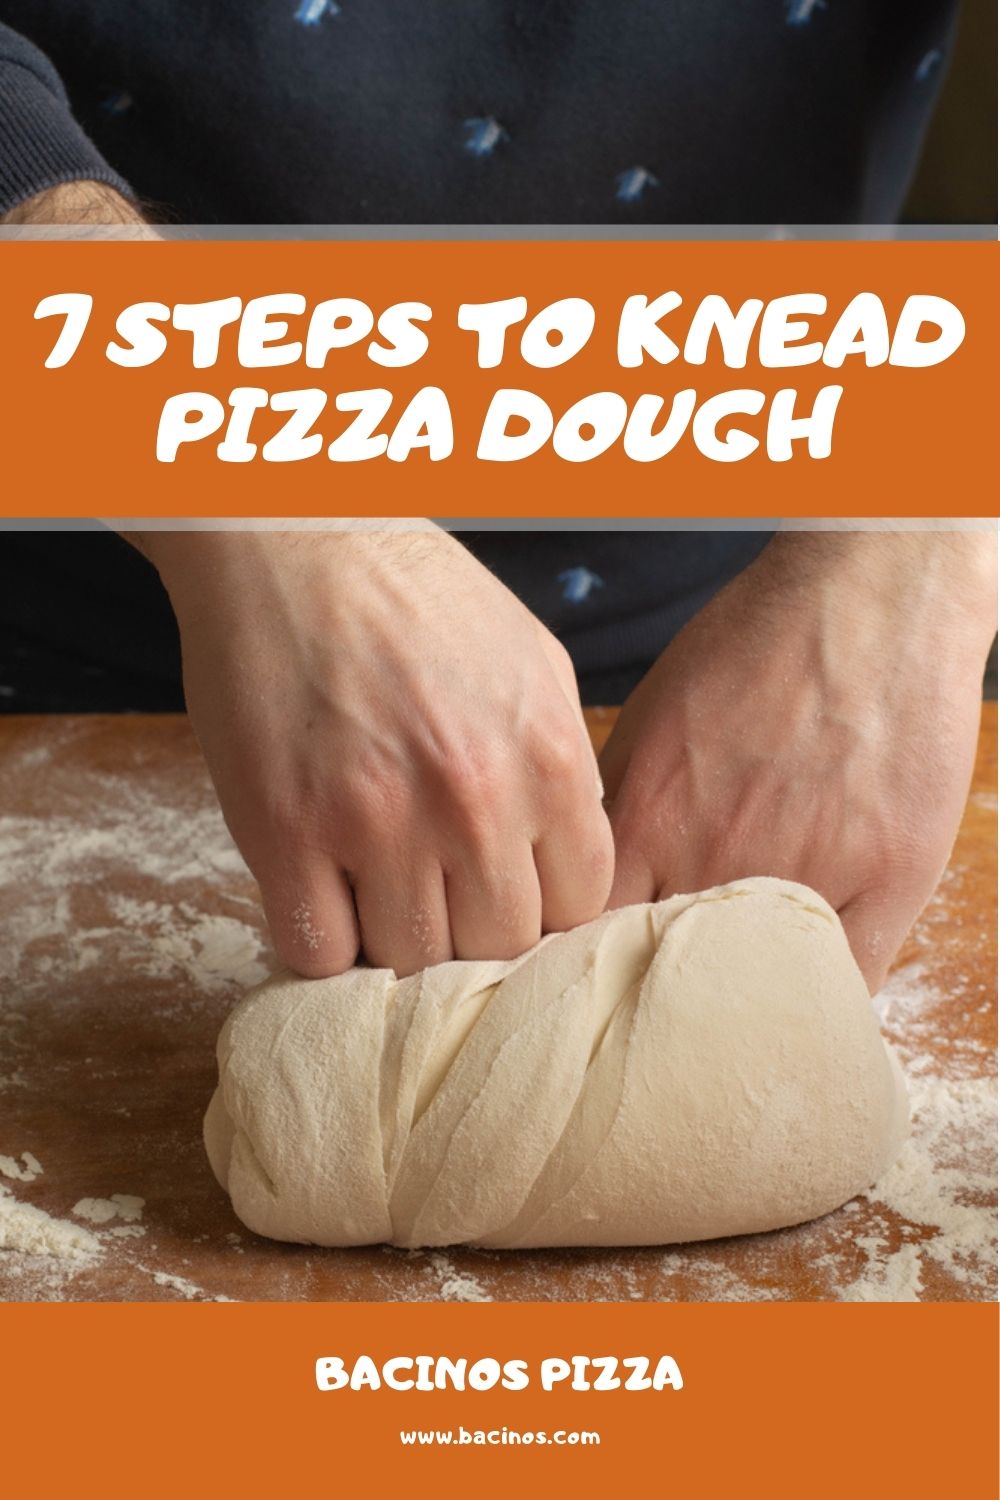
Are you thinking about making homemade pizza? Preparing the dough is the most important part of the process, and it will ultimately determine the quality of your pizza. To prepare the perfect pizza, you will first need to learn how to knead pizza dough.
While you can prepare the dough using a mixer, kneading by hand is the better option. This process might seem intimidating, but you will get the hang of it with a bit of practice, and you will be kneading like a pro.
There is no single way to knead dough. But, it is really important is to work on the flour mixture until it is smooth, strong, and stretchy to achieve the perfect crust for your pizza.
In this article, I will show you several easy methods to knead pizza dough. Come along, and let’s get mixing and kneading!
Tools and Supplies You Will Need
- 1 1/3 cup warm water, 105 degrees Fahrenheit
- 2 ¼ tsp instant yeast
- 4 cups bread flour
- 1 tablespoon sugar
- 1 teaspoon salt
- 2 tbsp olive oil
- Plastic wrap
- Proofing container
- Wooden or rubber spoon
Step-by-Step Guide To Knead Pizza Dough
Follow these simple steps to make perfect pizza dough using your hands.
Step 1: Dissolve sugar and yeast in water

In a bowl of warm water, add sugar and yeast and whisk using a mixer, wooden spoon, or rubber paddle. Cover the bowl and let it sit for 5 minutes.
Step 2: Add the dry ingredients
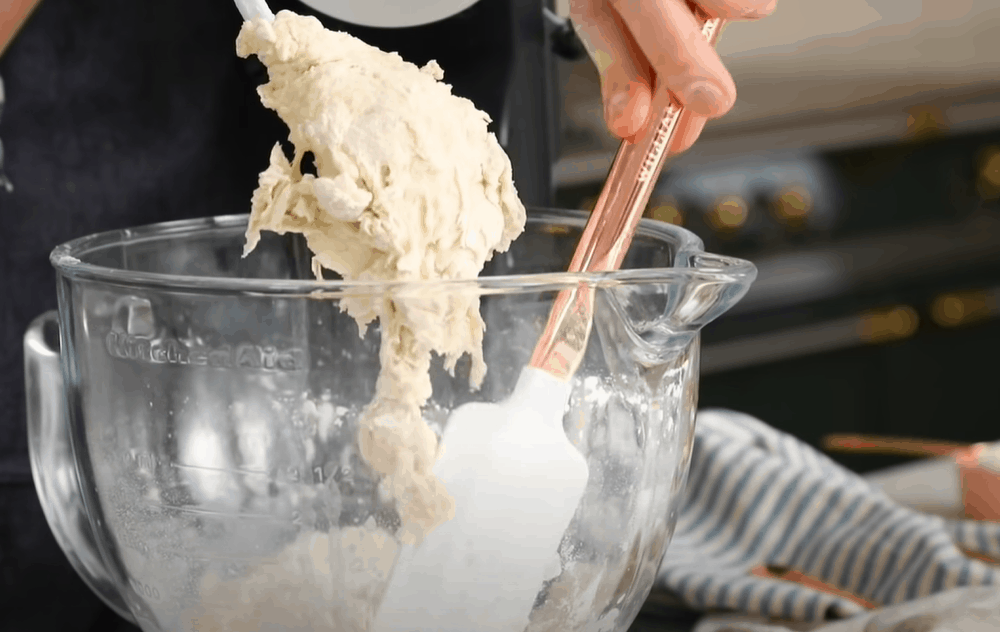
Add the flour and salt and whisk the mixture thoroughly to make a dough. Pizza dough is a lean dough, and therefore it does not require egg or fat such as butter or vegetable oil.
Without the fat, the result will be a crusty pizza base instead of a soft, bready one. But, I usually add a dash of olive oil; it is flavorful and keeps the interior of the pizza base soft.
Step 3: Prepare the kneading surface
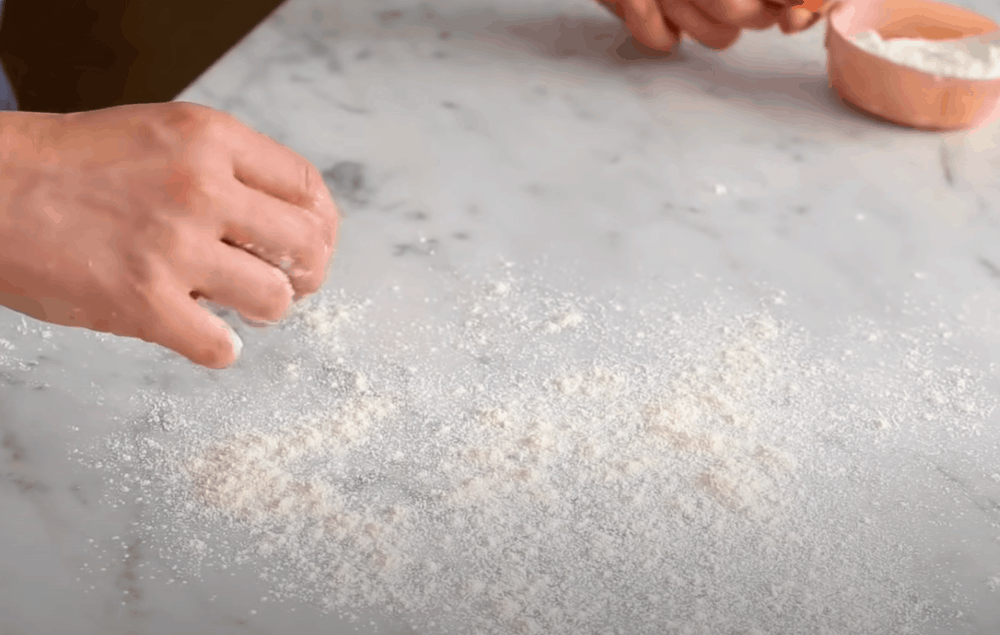
For ease and effectiveness, it is best to knead your dough on a clean, flat countertop. Sprinkle some flour on your chosen surface. This will prevent the dough from sticking to the countertop and will allow you to knead faster. It is also a good idea to flour your hands for the same reason.
Step 4: Transfer the dough to the countertop
By now, the dough is rough and sticky. Lift it out of the bowl and place it on the floured spot on the countertop. Alternatively, turn over the bowl and let the dough slide out onto the countertop.
If the dough is too sticky, dust it with a bit of flour before you begin kneading. Don’t worry about changing the measurements of the flour. Sprinkling a little flour will not have any significant effects on the quality or quantity of your dough.
Keep the bag of flour close by for ease of access if you need to dust it on your hands, dough, or the kneading surface.
Step 5: Shape the dough
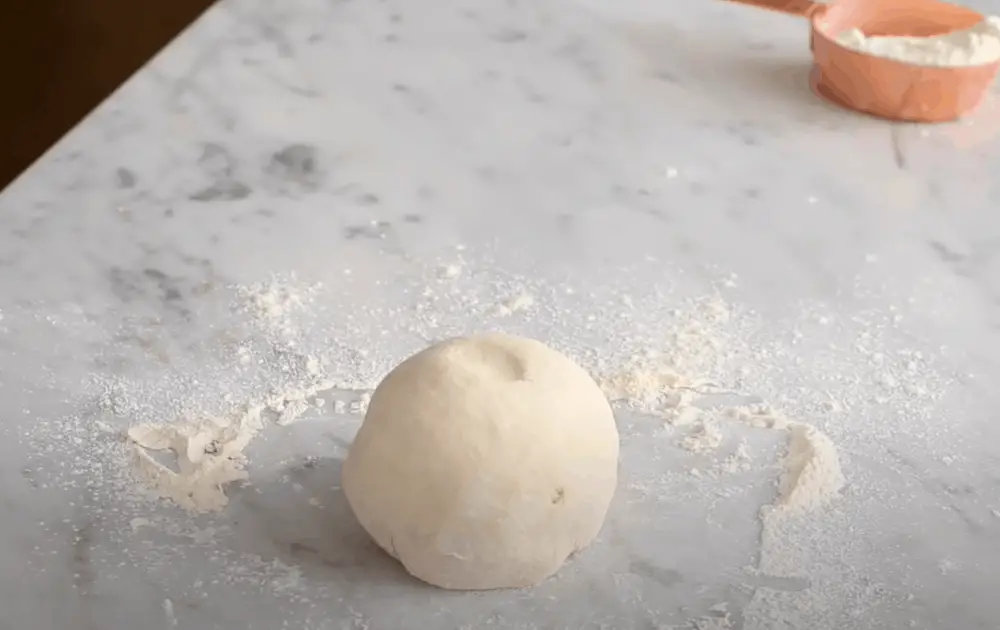
Once you place the dough on the floured surface, cup your hand around it and gently twist the dough to shape it into a dome.
Slightly lift the dough from the surface as you twist it. If the dough is still sticky, dust some more flour on its surface and continue to lift and twist until you achieve a dome shape.
Don’t worry about shaping the dough perfectly. Shaping is not incredibly important and only serves to make the kneading process less haphazard and messy.
Pro Tip: Work on increasing your speed. The slower you move, the likelier the dough will stick to the work surface.
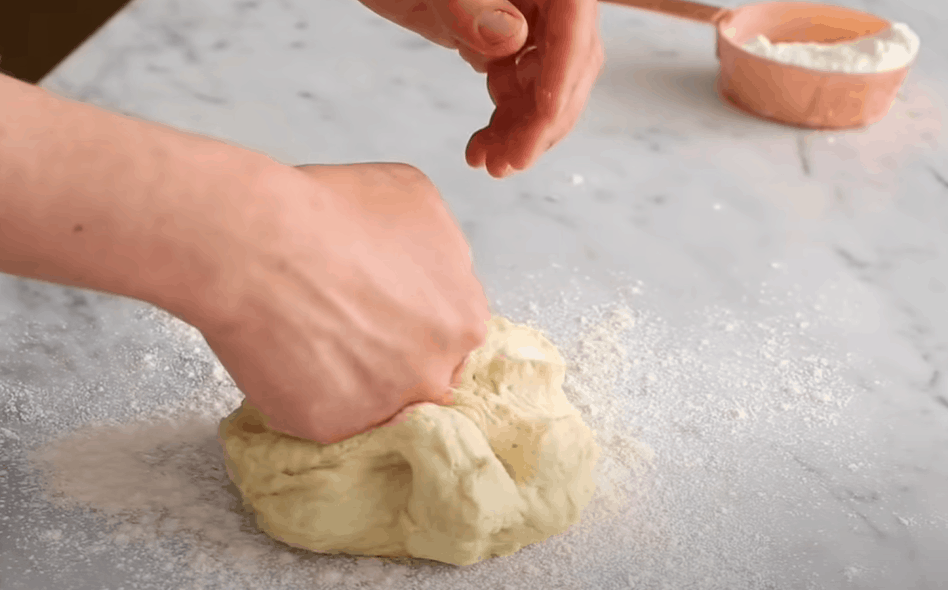
Step 6: Knead the dough
Now that you have your dough dome, it is time to start kneading. I use two methods to knead my dough, and I like to alternate between the two. This helps achieve the perfect pizza base that is soft inside and just the right amount of crunchy on the outside.
- Use your knuckles
So let’s get to kneading. The first method of kneading is using knuckles. Form a fist with both your hands and firmly press your knuckles into the dough.
Then, fold one of the edges of the dough and pull it to meet the other edge on the opposite side. Push your knuckles into the dough again and fold one edge to meet the opposite edge. Repeat this for a few minutes.
The first method helps to strengthen the dough. The second method gives it form and structure, which will come in handy when you are ready to stretch out your pizza base ready for baking.
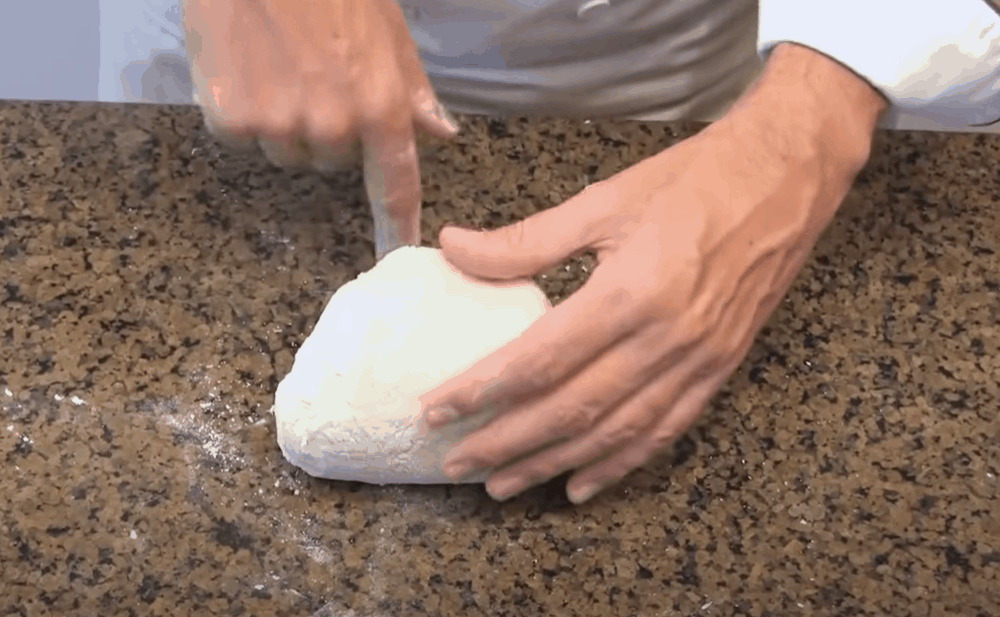
- Use the heel of your hand and fingers
For this second method, you will use the heel of your hand. Press it into the dough and stretch it along your working surface.
As you knead and stretch it out, use your fingers to lift the dough and roll it back slightly. So, you’d be stretching out the dough with the heel of your hand and rolling it back in with your fingers.
Repeat this stretch-and-roll motion for three minutes. Then, flip the dough so that the side facing up now faces down. Stretch and roll again for an additional three minutes or until the dough feels ‘well made.’ Poke the dough with your finger. It should slowly spring back, which is a sign that the dough is ready. Check out the Extended Tips below for tips on how to check if your pizza dough is ready.
Step 7: Fold the dough

Once you are satisfied that the dough is ready, it is time for proofing. Proofing simply entails allowing the dough to rest and rise before baking.
If you have a large amount of dough, it is best to slice it into smaller portions of the same size for individual pizzas.
Pick up one portion of dough and hold it in your hand. Then, fold both sides of the dough and tuck them in. Repeat this with the other two sides of the dough.
Now, roll the dough between your palm to form a nice, round ball. Repeat this with the other dough portions. Then, place the balls in a container sprayed with some oil and cover with plastic wrap.
Store the dough on the countertop for up to two hours before baking. If you are cold proving, place the dough in the fridge for up to 3 days and take it out 2 hours ahead, ready for baking. Check out this video for tips on stretching your pizza dough the correct way.
Extended Tips
Here are some extra tips to help you make the perfect pizza dough.
- Understand the science behind kneading
Kneading is the secret behind a perfect pizza base. Wheat flor contains the protein gluten. When you make dough, these proteins are arranged haphazardly. Kneading arranges these proteins in a more structured way. The more you knead, the more you give form and structure to the protein chain. Well-structured dough rises quickly, which makes for a soft and chewy pizza base.
- Choose the right flour
Instead of preparing your dough with regular flour, opt for bread flour for the best results. Bread flour has more gluten in it, which means longer molecular chains. The longer the molecular chains, the stretchier your dough and the softer the pizza base will be.
- Identify signs that your dough is ready
For a stretchy and soft dough, it is important to knead enough. There are a couple of quick ways to check for readiness. First, the dough should be smooth. When you first make the dough, it will be rough and lumpy, but it will become velvety as you knead.
Another sign of readiness is the way the dough holds its shape. When you lift the dough, it should not sag; instead, it should retain its shape. This shows that the gluten molecular chains are aligned.
The third method of checking if your dough is ready is to poke it. If the dough is kneaded enough, it will quickly spring back. Continue to knead if the dough is oozy and doesn’t bounce back when you poke it.
Read more if you find that your dough is not rising as expected.
- Perform the windowpane test
The windowpane method is one that professional bakers use to check if the dough is kneaded enough. To perform this test, tear off a small piece of dough and gently stretch it.
If the dough tears immediately, it still needs some extra kneading. If the dough is kneaded enough, it will stretch thin without breaking, and you’ll be able to see through it, just as you would see through a windowpane. Check out this video on how to do the windowpane test.
Knead Your Way To the Perfect Pizza Crust
The secret is out! If you want soft and chewy pizza, practice how to knead pizza dough. The advantage of learning how to knead by hand is that there is a low risk of over-kneading compared to using a mixer.
Kneading does require quite some stamina but, don’t let this put you off. Once you get the hang of it, the process will be a complete breeze, and you might even have fun with it. Happy kneading!

Barbara is an enthusiastic food-exploring person that goes through different culinary experiences. She got inspired by creating a pizza blog post after she tasted one of the best-selling pizzas in Toledo.