Everybody loves a good pizza crust cooked in a well-heated pizza stone. But let’s be honest! Transferring pizza to a pizza stone can be tricky if you don’t have the right tools. So today, we’re sharing six methods you can apply at home for mess-free pizza baking. We also included some tips at the end, so check that out.
What is a Pizza Stone?
Pizza stones, despite their name, are not actually stones. They are unglazed, flat, heat-proof clay that can withstand higher temperatures. It is often used in a home oven to achieve an evenly cooked pizza while maintaining its round shape.
Another thing to love about this tool is that it helps absorb heat and flavors faster. It benefits thinner crust-style pizza, like Neapolitan, as it usually needs higher temperatures to get a crisp crust. It also allows for shorter cooking time because of its significant thermal conductivity.
How Does It Work?

Commercial and outdoor pizza chambers achieve temperatures as high as 1000°F to create perfect blisters on the crust. Contrarily, this is impossible to execute in a home oven; that’s why pizza stones exist!
Pizza stones work to simulate the high-heat temperature of a brick oven. It absorbs and releases thermal energy that helps raise the temperature in conventional ovens. Aside from this, it helps maintain a consistent heat that is handy when you open the door to check on things.
The stone undergoes slow pre-heating for about an hour at 500°F. Yes, it does reaches an hour to finish. Cutting the process for less than the said time shows dramatic differences in the pizza crust color, which is not very enticing. It can also cause cracks or, worse, an explosion of the clay from abrupt heat exposure.
Methods To Transfer Pizza To A Stone
Moving on, let’s talk about transferring a pizza to a stone. Here, we’ve listed six different methods to give you options. So don’t fret if you don’t have those fancy equipment like a pizzaiolo! We’ve got alternative tools you wouldn’t even think of using.
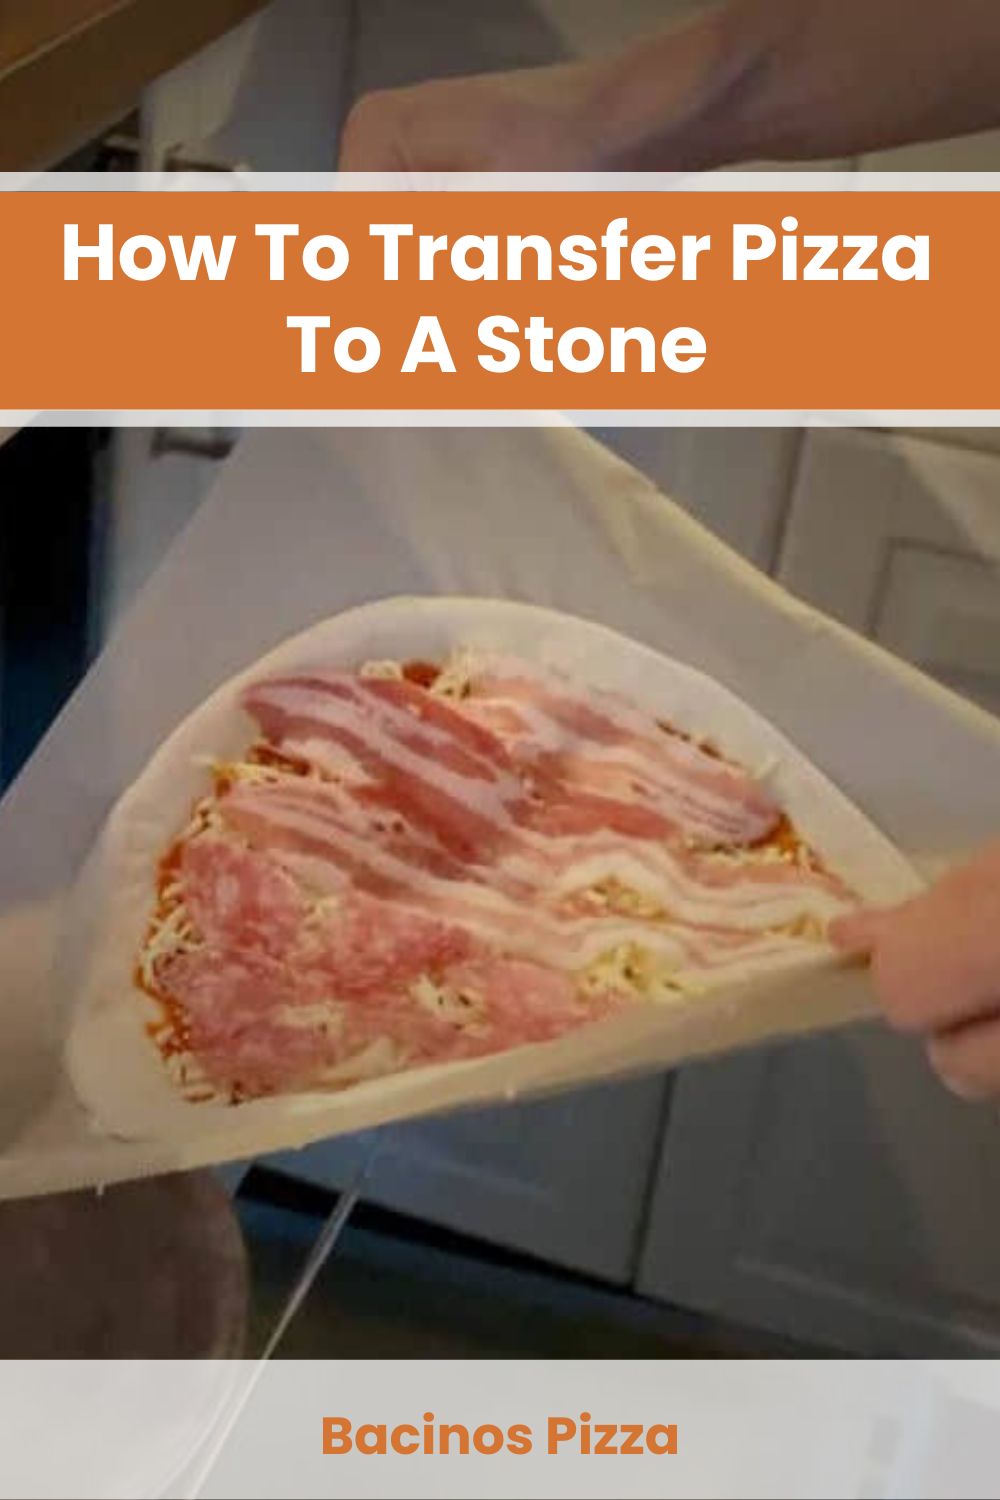
Method 1: Pizza Peel
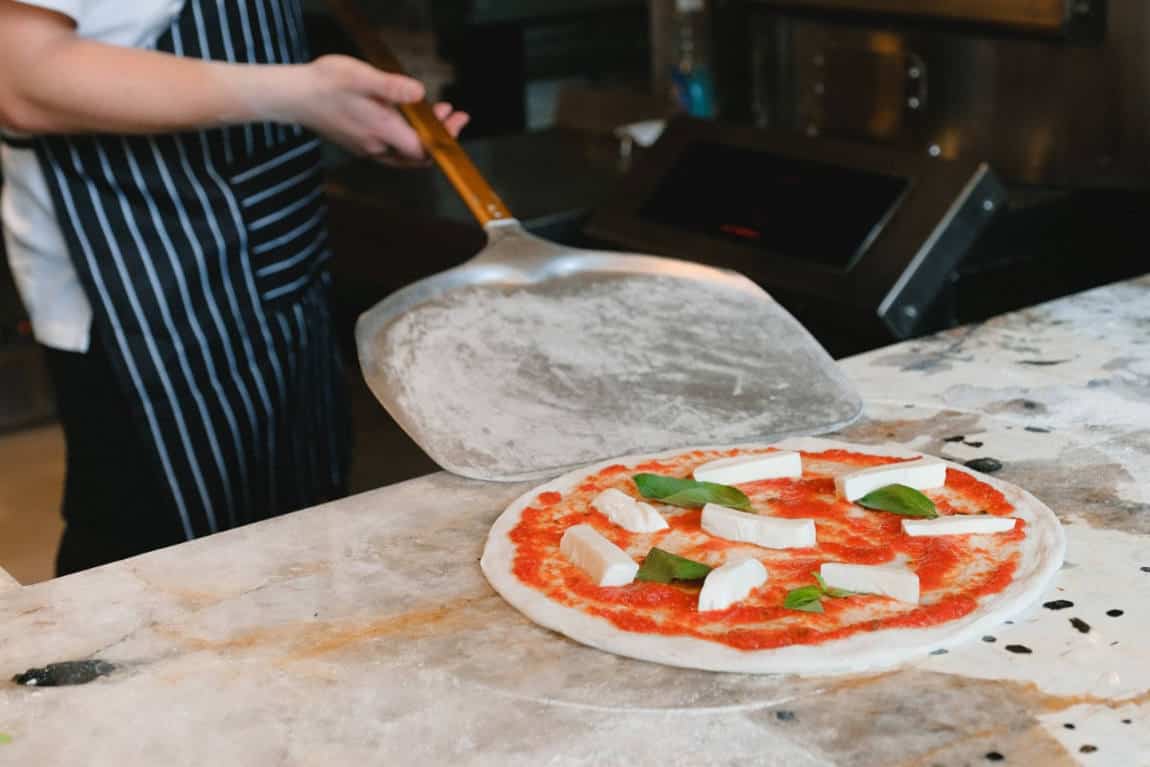
Let’s start first with the most common tool used to transfer pizza. Pizza peel has a large, flat surface used to stretch and top your dough. It can be either round or square-shaped to suit any style of pizza. In terms of material, you’ll find it available in wood, steel, and aluminum attached to a decent-length handle.
Transferring with Pizza Peel
Pizza dough loves to stick on a bare surface. So to prevent this from happening, you need to prep it first. Combine flour and cornmeal, then dust in on the pizza peel. Although, you can use cornmeal alone to add texture to the bottom of the crust. Ensure that all the surface is dusted evenly so no dough touches the peel.
Grab your dough and center it on the pizza peel. It is also crucial to work fast on adding the toppings as the dough may absorb the flour and stick. Once done, slightly jiggle the peel to loosen the dough before placing it on the stone. Now you’ve got a pizza safely placed in the oven.
Method 2: Parchment Paper
Is there no pizza peel available at home? Try this parchment paper transfer hack! Parchment paper is a food-safe sheet coated with silicone, making it heat-resistant and non-stick.
You’ll find two variants of it in the grocery store: one is white, and the other is brown. White parchment paper is treated to remove its natural color, while the latter is unbleached. And while they look dissimilar in color, both are heat-resistant and work just the same.
Now for the dreaded question: Can you replace parchment paper with wax paper? The answer is no because the wax paper has paraffin wax which burns in the oven. So better yet, buy a parchment paper before you bake a pizza.
Transferring with Parchment Paper
First, cut a square-shaped parchment paper that is an inch bigger than the size of your pizza crust. Then, lay it on the counter and lightly dust it with flour before placing the dough. Add the toppings you like, and when you’re ready, grab the two opposite edges of the parchment paper. It should look like you’re holding a curved diamond sheet with the pizza in the center.
Here are some points to remember when transferring:
- Placing your hands too close to each other will collapse the pizza inwards, folding the dough aggressively.
- Too wide of a distance of the hand can deform the dough outwards.
- Ensure the carrying angle is not too close or wide for a perfectly round pizza.
Once placed over the pizza stone, let the pizza bake with the parchment paper. After 90 seconds, remove the paper with the help of a spatula and let the pizza finish baking.
Method 3: Wooden Cutting Board
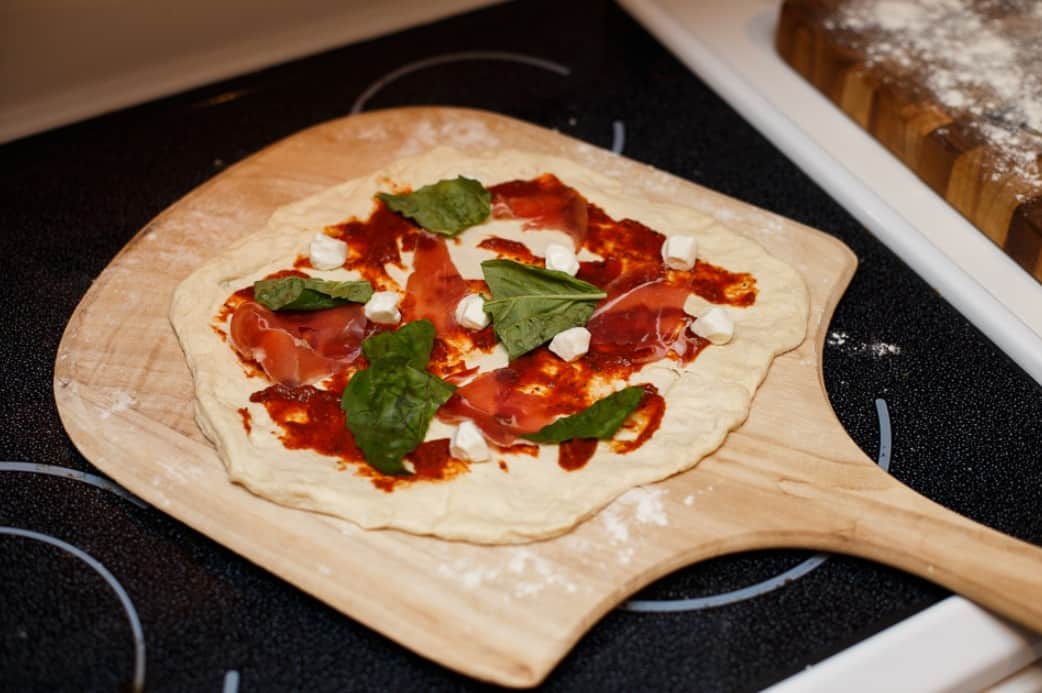
Using a chopping board mimics the function of a wooden pizza peel. It is available in most kitchens and saves you bucks from buying a new pizza tool. Although be careful when using this method as wooden boards can only handle less than 400°F.
Transferring with Cutting Board
Using a wooden cutting board is similar to using a wooden peel. It also needs dusting with cornmeal or flour to prevent the dough from sticking. Once the pizza dough is on the cutting board, it is ready for the toppings. Lastly, don’t forget to jiggle the board lightly before placing it on the stone.
Using a board with a handle also makes it easier to move around the stone. But another thing you should not forget is the size of your pizza. Most cutting boards are rectangular, so either you craft a small round pizza or a rectangular-shaped one.
Method 4: Rimless Cookie Baking Sheet
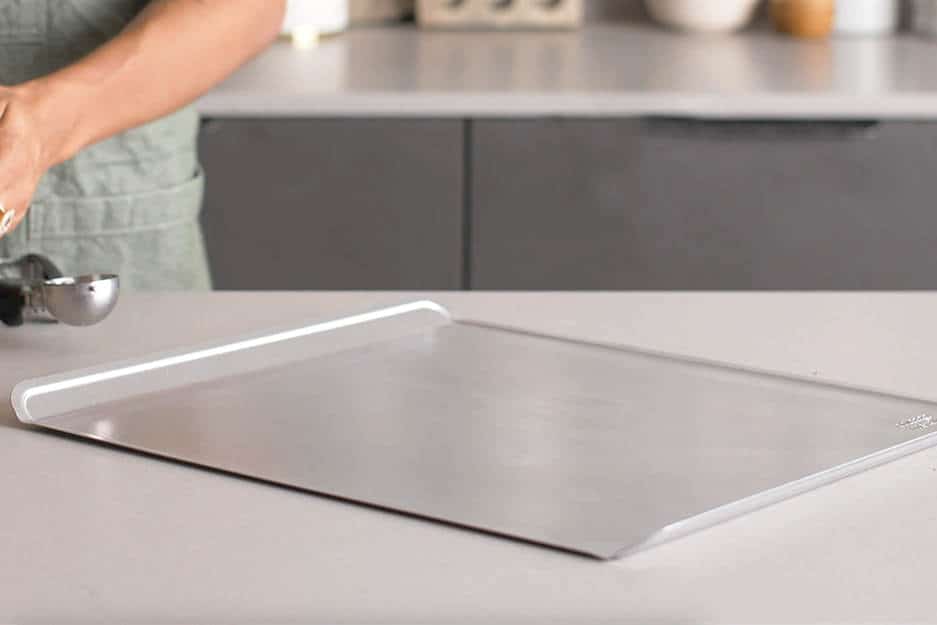
If you’ve been baking cookies for a long time, high chances are you have a rimless cookie sheet. It has a flat surface with one raised side made of aluminum, making it easier to handle. It can also tolerate higher temperatures, unlike wooden alternatives.
Transferring with Rimless Cookie Sheet
Cookie sheets usually have a nonstick finish. You can skip the dusting part or add a bit of cornmeal for flavor. Once the pizza is ready and in place, use a potholder to grab the raised side. Aluminum can conduct heat faster, so you may want to protect your hands.
Slide the pizza into the stone and let the pizza bake as needed. You can also use this tool to remove the pizza from the stone once cooked.
Method 5: Upturned Rimmed Baking Sheet

Let’s say you don’t have a rimless one but got a regular baking sheet. All you have to do is flip it and use the bottom to remove the walls. Although, here’s a friendly reminder: baking sheets with tall walls are harder to grip. It takes effort and patience to get the proper technique.
Transferring with Upturned Rimmed Baking Sheet
Like in a rimless cookie sheet, you don’t have to dust the bottom to avoid sticking. Place the pizza on the upturned baking sheet and slightly pull it at the counter edge. That way you’ll have space to slip your fingers to hold the rim. Once it is secured, use a spatula to guide the dough from sliding toward the stone.
Method 6: Hard Pizza-size Cardboard
When the worst comes to worst, and you don’t have any of the tools mentioned, try this method instead. Hard cardboard is for one-time use, yet it comes in handy if nothing else is available. And yes, we know it sounds quirky, but it works!
Transferring with Hard Cardboard
Cut a clean cardboard that is an inch bigger than your pizza crust. Ensure that it is hard enough to support the weight of your pizza. If you’re confident it is sturdy, carry it to the oven and gently slide the pie to the stone.
Another thing to remember: Avoid getting the sauce on the board if you don’t want wet cardboard on your pizza.
Tips To Know When Cooking with Pizza Stone
Before we end this article, we’d love to share quick pizza stone tips to keep you on your A-game.
- Always preheat the pizza stone for an hour for a crisp and chewy crust.
- Never oil your pizza stones if you don’t want your pizza to burn along with the stone.
- You can directly dust the pizza stone with semolina flour, cornmeal, or fine polenta to minimize the dough from sticking.
- Avoid washing your pizza stone with soap if you don’t want your pizza to taste like a detergent.
- Ensure you place the pizza stone far from the oven broiler when baking. It will prevent the crust from burning before the cheese even melts.
Conclusion
Among the six methods of transferring the pizza to a stone, which one do you look forward to doing? Ours is the wooden cutting board since it’s readily available in any home. It is also inexpensive, especially if you only cook pizza occasionally. But we’d also love to consider the cardboard just to get a new experience of pizza making!

Barbara is an enthusiastic food-exploring person that goes through different culinary experiences. She got inspired by creating a pizza blog post after she tasted one of the best-selling pizzas in Toledo.