Ever gone to buy a pie from your local pizzeria and found yourself glued to the cooks in the back spinning pliable pizza dough in the air and skillfully catching it in their hands? Wish you could do that too. This post is for you.

We have outlined some foolproof steps on how to toss pizza dough to help you get the hang of this mesmerizing technique yourself. But even before we get to that, let’s find out the purpose of tossing pizza dough in the first place, shall we?
Why Tossing Pizza Dough is Important
Contrary to what many people think, spinning pizza dough in the air is not always just for show. It also allows you to spread your dough properly, without necessarily having to push your fingers through it.
Not just that. Dough tossing helps the crust retain its moisture too, unlike when using pizza makers. You see, these devices use a dough sheeter to flatten and extend the dough out, which leaves the crust dry and harder to work with.
In addition, spinning the dough disc high in the air helps produce a uniform crust, which can be difficult to do if you are spreading out the dough with only your hands.
How to Properly Toss Your Pizza Dough?
Materials/Ingredients Needed
- Homemade or store-bought dough
- Baking floor
- Rolling pin (if needed)
Step 1: Start in The Mixing Bowl
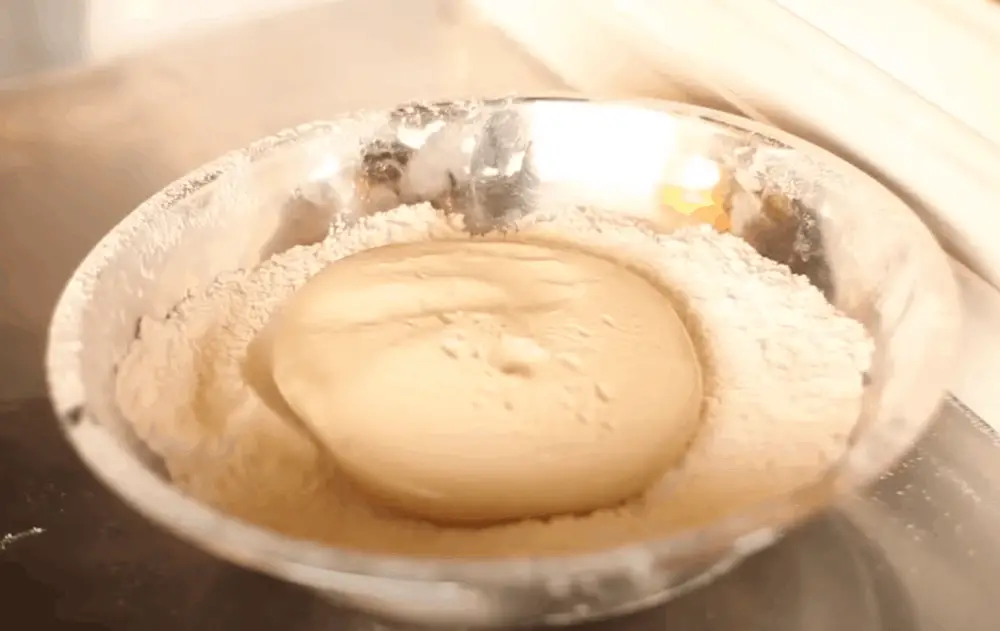
How easy or difficult it will be to toss your pizza dough will highly depend on the recipe you choose as well as the elasticity of the dough. Gluten, the protein responsible for your dough consistency must be properly developed to make it easy for your dough to stretch.
So, how do you ensure the proper development of gluten, you may ask? Well, it all boils down to how you knead and rest your dough.
Ideally, you should knead and rest your pizza dough at least twice before proofing it. To achieve this, make sure you are strictly following your recipe. For instance, if the recipe instructions say that you should knead for 7 minutes, knead for exactly 7 minutes, not 6 and not 8.
Step 2: Shape the Dough
For your dough to assume the pizza shape, you must flatten it first. Otherwise, it will appear like you are just tossing a ball of dough in the air.
So cut your dough into small pieces based on the number of pizzas you intend to make. Then roll each piece into a ball and coat it generously with flour. Now sprinkle some flour on a flat surface and place the small ball of dough on it.
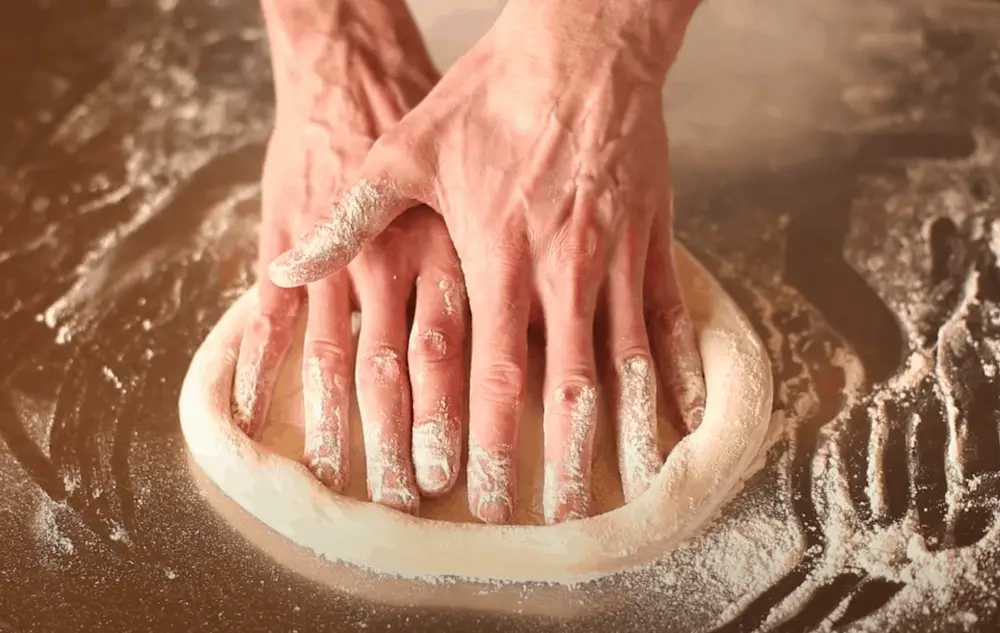
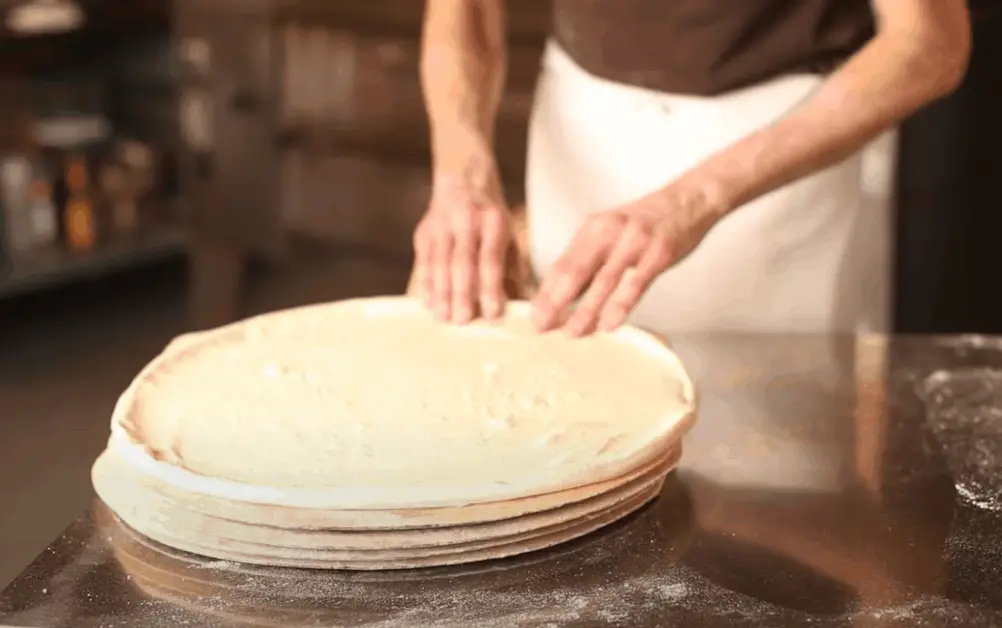
Start pressing the ball with your hand to flatten it, making sure not to press too hard, as this may squeeze the air out of the dough. You want the crust to be soft and squishy, not hard and dense.
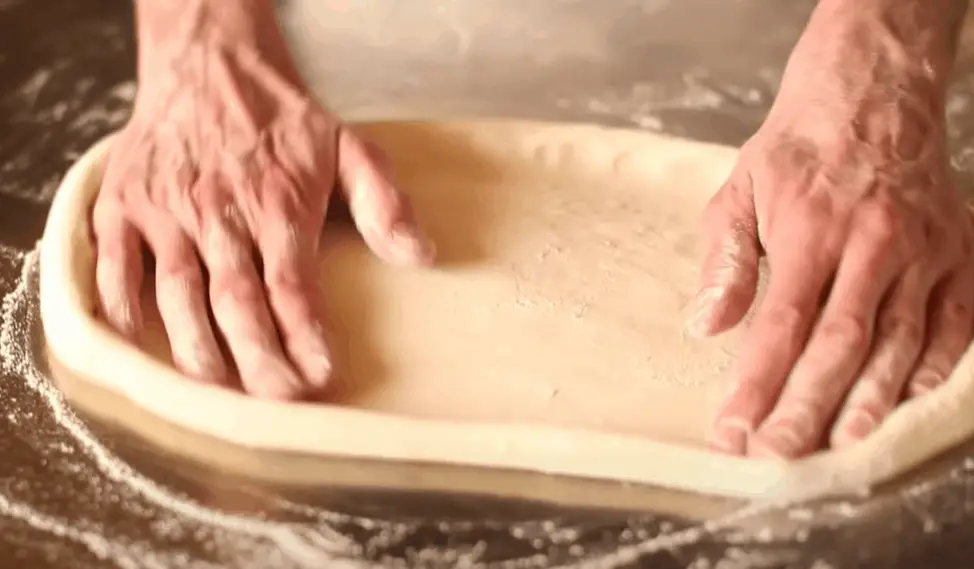
As you continue spreading, hold your fingers straight together. Press the dough about ½ inch from the edge to create the outer crust. Repeat this motion as you rotate the dough. This will form a groove and raise the outer crust. If your hands or dough stick at any point, add more flour.
Note that you could also use a rolling pin to stretch out your dough. The only problem is that the resulting dough won’t have a raised crust, so you will still have to create one by pressing your fingers into the dough.
Toss the Pizza Dough
Now that you have made a fantastic pounded dough, let’s dive into the good stuff, alright?
Step 3. Slap the dough
While slapping the dough is a great way to shape your pizza, it is optional. Some people will slap the dough then toss it in the air while others will just either slap or toss. There is no rule in the pizza-baking world that defines which of the two methods is better than the other.
If you decide to add slapping to your pizza preparation, however, make sure you are doing it right, as this process will also play a significant role in giving your pizza its final shape.
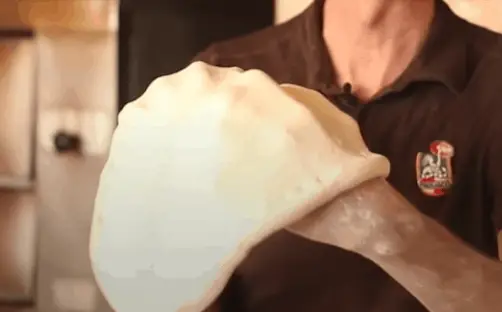
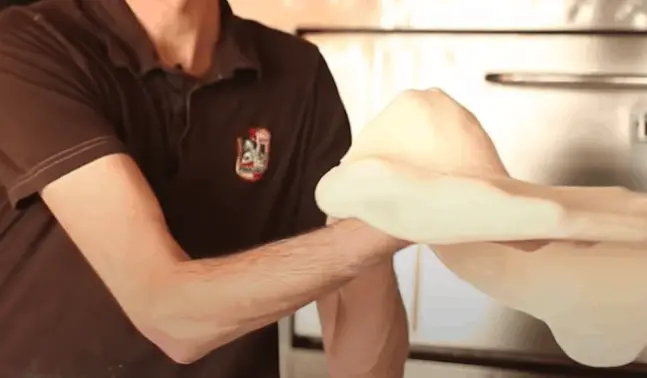
To slap your dough correctly, slowly lift the dough with one hand as you slide your other hand underneath it until the dough is properly settled on the palm and forearm beneath. Make sure to use as much of the forearm as you possibly can to prevent the dough from breaking.
Slap the dough onto the other palm, allowing it to drape over this other hand and its forearm. While doing it, check to see if the dough has any signs of breaking. If it does, drape it gently instead of slapping it.
Drape the dough back and forth, each time rotating it at about 90°. This rotation is crucial, as it widens and evens the dough even more.
Step 4. Get into the tossing position
If your dough has not reached your preferred size even after slapping, it’s time to toss it in the air. Put the fingers of your dominant hand together and stretch the hand forward as a flat palm.
Use the fist of the other hand to anchor the dough. Then drape the dough over the two hands. Make sure to keep the opposite sides of your pizza dough supported to prevent tearing.
Step 5. Be ready to throw
Rotate both arms inward toward your body. If your right palm is the dominant one, rotate both arms toward the left. This will allow the dough to spin more when you throw, initiating the rotation that gives the dough its shape while in the air.
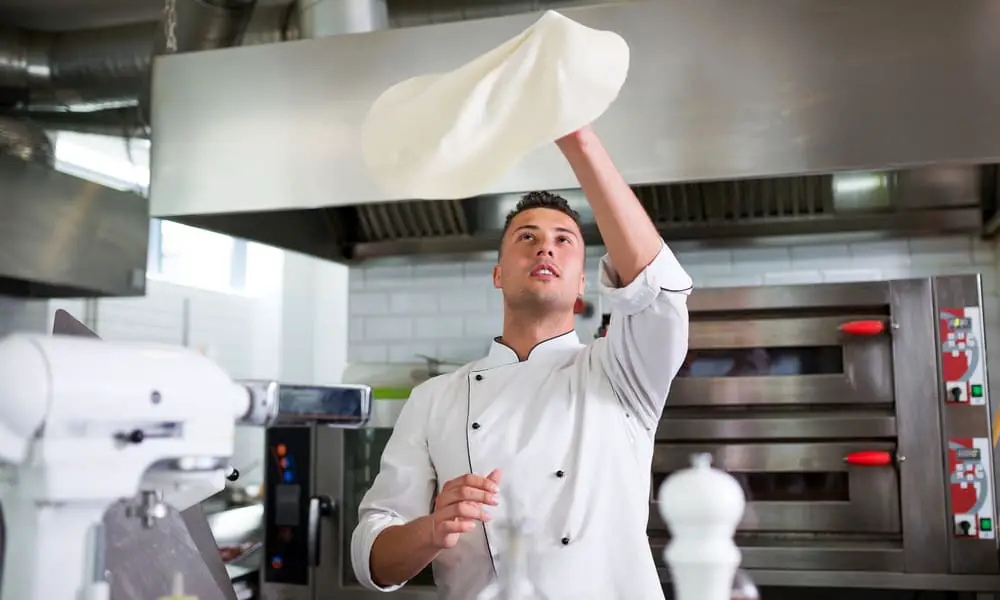
Step 6. Lift your palm and flip it
Bring your palm up and flip it such that its back is right in front of your face. Lift your fist and continue supporting the dough, but pay more attention to the palm, as that’s the hand that will be doing the spinning.
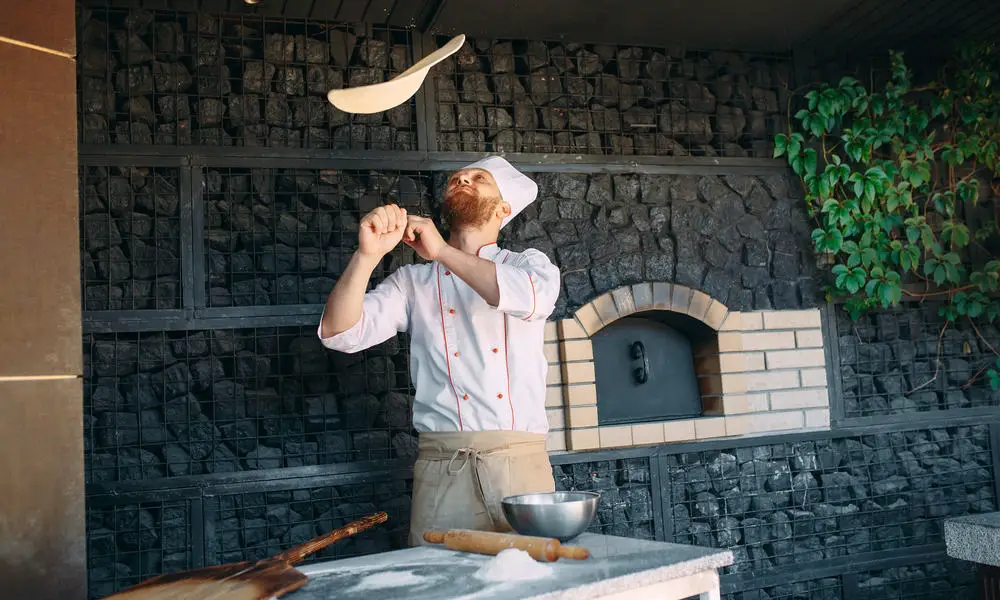
Now go ahead and make your first spin. Rotate your hands and halt the upward motion of the palm abruptly as soon as the hand reaches near your face. This will cause the dough to fly upward and will be rotating just as fast or as slow your hands spun.
We advise making your first dough toss at a moderate speed. You don’t want to throw too slowly and the dough doesn’t leave your hand nor do you want to do it too fast and the dough goes flying across the room.
Also, when you are just getting started, it is important that you practice this motion without actually spinning the dough first.
Step 7. Complete the arch of movement
Even if your palm stopped moving upward, be sure to complete the arch of the movement it started after the dough has been released. Simply move it around and out in front of your face. This follow-through will help keep your hand in the right shape to catch the falling dough.
Step 8. Catch the dough
Use both hands and forearms to catch the dough. We recommend folding your hands into fists and extending your forearms as much as you can so you don’t puncture the dough.
If you have a really thick dough, you could be able to receive it on just one fist. Once you have become a pro, you may even be able to catch the dough on your fingertips.
Repeat the process until your dough gets to your desired size. If you had slapped it earlier, you may only need to toss it once. After you are satisfied with your tossing, place the dough on a baking sheet, add the toppings, and get ready to bake your pizza.
Still having trouble understanding how pizza dough tossing is done? Don’t worry. This video will make the whole process a cakewalk for you.
Extended Tips: How to Get the Most out of Your Pizza Dough Tossing
- Always use your dominant hand to throw the pizza. In other words, if you are right-handed, for instance, use that hand’s palm to initiate the toss.
- Whether you are spreading out the dough or spinning it, always keep your fingers close together. This will prevent puncturing the dough.
- Avoid using whole-wheat flour when preparing dough for your pizza. Such flours have very low gluten and may not knead or stretch out well. For best results, always go for all-purpose flours. And if you are not sure which flour to use, consider store-bought dough.
- The dough tossing technique can take a while to perfect, so practice regularly. You could even buy fake dough to practice with, or alternatively, use a dry kitchen towel to simulate the weight and motion of real dough.
The Takeaway
Pizza dough tossing is a fun and easy way to spread out your pizza to the desired size. To set yourself up for success:
- Start by getting the right flour and kneading it as per the instructions of your recipe.
- Then stretch out the dough to give it a pizza shape.
- Lastly, toss the dough, making sure to throw with your dominant hand.
And remember, don’t expect to become a pro overnight. You may have to try different angles and recipes before getting there.
Have you tried tossing pizza dough recently? Share your experience in the comment section below.


Julie has five years of experience in the restaurant industry, she decided to share her knowledge about her liking and fondness for food and pizza, of course, cooking as her love language. She’s very passionate about what she’s doing, making all the things she writes regarding pizza recipes, very amazing!