Want pizza but no oven? No problem—you can grill it or cook it on a skillet. It really is that easy. Whether you don’t have an oven at home or don’t want to use it, or you are out in the great outdoors and cannot access one, there’s no reason why you shouldn’t cook and enjoy your favorite pizza.
No, you don’t need expensive pans or complicated grills to cook a non-bake pizza. Read on; I will show you how to cook pizza without an oven while maintaining that restaurant-style quality.
What You Will Need
- Medium-sized skillet
- Large bowl
- Plastic wrap or kitchen towel
- Grill
- Olive oil
- Spatula
- Pair of tongs
- Baking sheet
- Kitchen brush
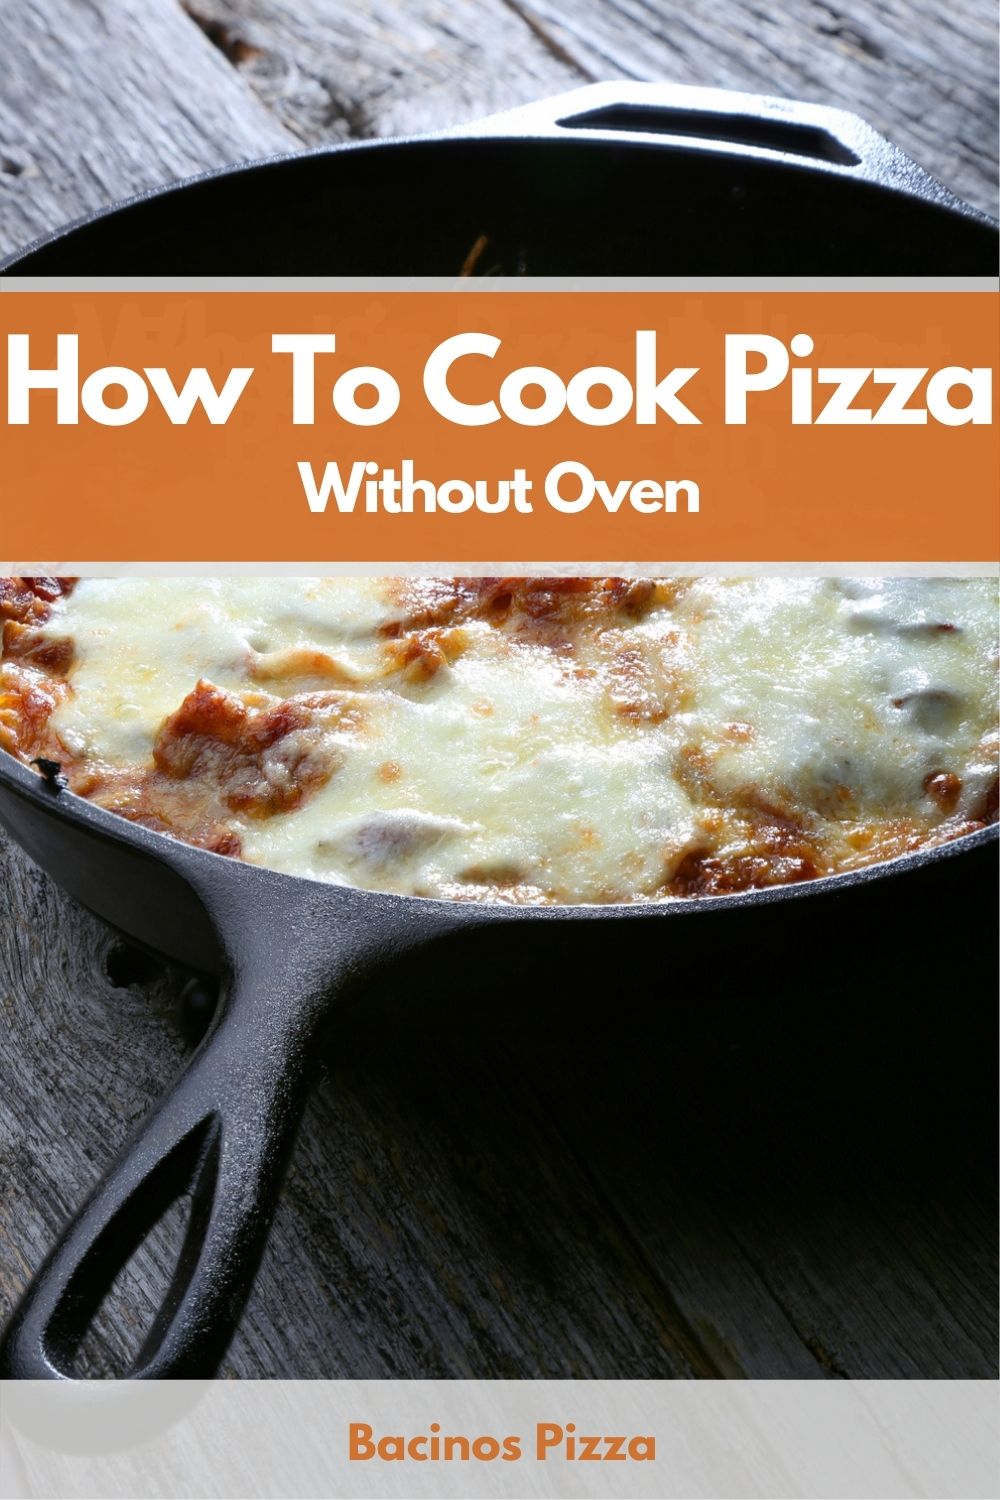
Step-by-Step Guide To Cook Pizza Without Oven (Skillet Method)
The secret to making non-bake pizza on a skillet is lightly brushing the dough with a bit of oil and using a cast-iron skillet pan with a lid. Follow these simple steps; you will have your pizza ready in less than 30 minutes.
Step 1: Get the dough ready
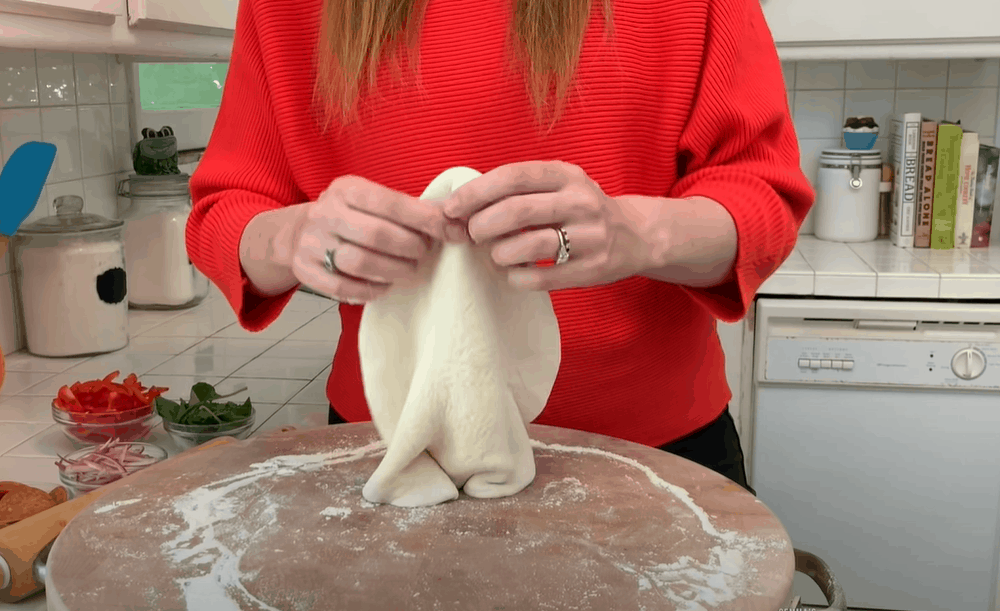
You can use store-bought dough or make your own. Both options will give you an excellent pizza base as long as you give the dough enough time to proof at room temperature.
If you have frozen dough, thaw it in the fridge for 3 to 4 hours. Once the dough thaws, bring it out and drizzle on a few drops of olive oil.
Wrap the dough with plastic wrap or cover it with a kitchen towel, and set it on the countertop for one hour to proof. Proofing improves the texture and structure of the dough, making it easier to shape and stretch into a pizza base.
Preparing your pizza dough from scratch will take about 30 minutes. This includes combining the ingredients, kneading, and shaping the dough. Here is an excellent video on how to make your own pizza dough.
Homemade pizza dough will also require proofing. As you wait for the flour to rise, go ahead and prepare your toppings.
Step 2: Prepare the skillet
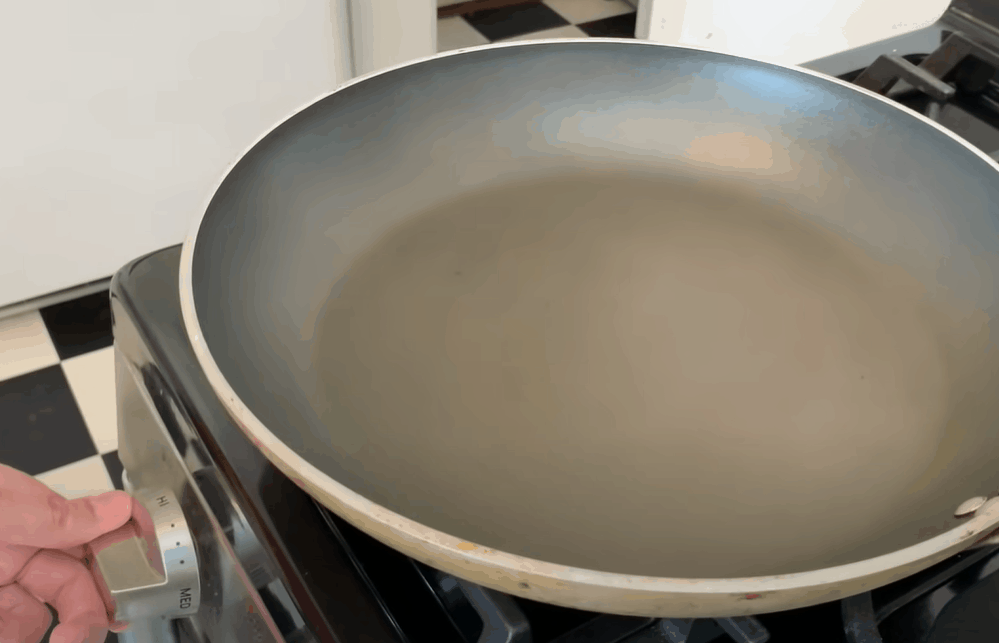
For a crispy, evenly cooked pizza, you want to heat the pan just enough to brown the dough but not too much to burn it.
To get started, place the non-stick skillet on the stovetop on medium heat. Add a tablespoon of oil and swirl the pan around, ensuring that the pan’s entire surface is adequately oiled. This will prevent the dough from sticking and help brown the pizza crust.
Step 3: Cook the pizza dough

Using a rolling stick, pick up the dough from the work surface and gently lay it on the skillet. Cook the dough for 1 minute or until you see air pockets on the surface.
If you want, you can deflate the air pockets using a fork or leave them if you want a crispier pizza crust.
Use a spatula to flip the pizza dough so that the top side now faces down. Now, cook this side for another one minute. If the dough doesn’t brown within the minute, give it an additional minute.
Turn off the heat so you can add toppings to your pizza without the risk of burning the base.
Step 4: Add toppings
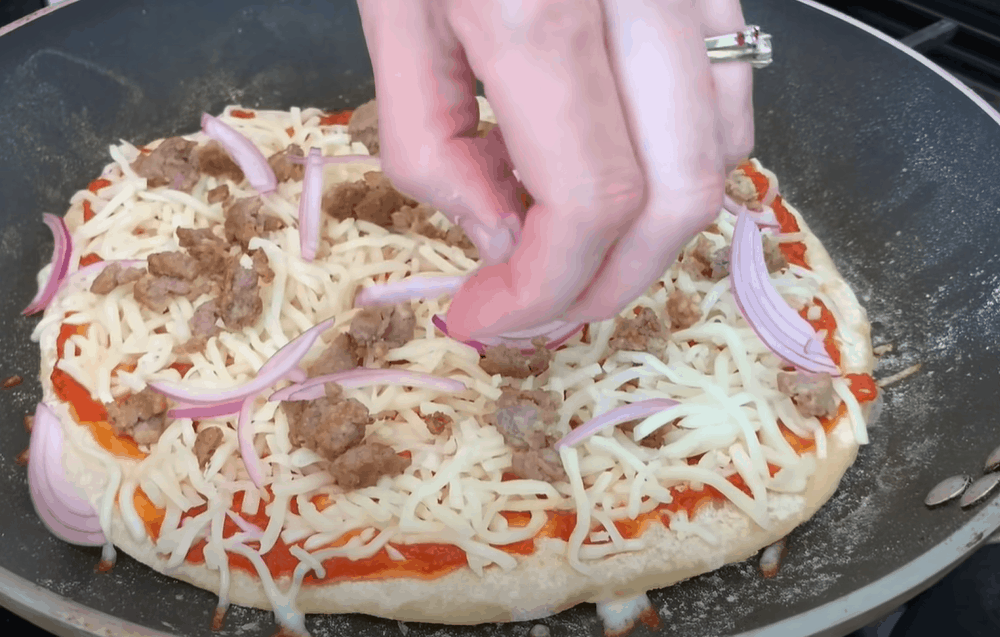
Now that both sides of the pizza base are nicely cooked, it is time to throw in your favorite toppings. Leave the pizza base in the skillet as you add the toppings.
Use a ladle to spread sauce on the cooked pizza base. I strongly recommend applying a single thin layer of sauce to avoid making the crust too soggy. Pizza sauce adds flavor to the otherwise bland dough, but too much of it won’t do much for your pie.
Restaurant-style pizza stays dry, crispy, and can support the toppings because they use only a little sauce before adding the toppings.
After applying the sauce, add your favorite toppings, including cheese. I like to use assorted cheeses to elevate the pizza flavor but feel free to go with the cheese of your choice.
As with the sauce, you need to be moderate with the toppings. Loading on the toppings will weigh down on the pizza base, causing it to break.
Pro tip: Cooking pizza on a stovetop takes only a few minutes. It is best to pre-cook your toppings to avoid burning the crust.
Step 5: Heat the toppings
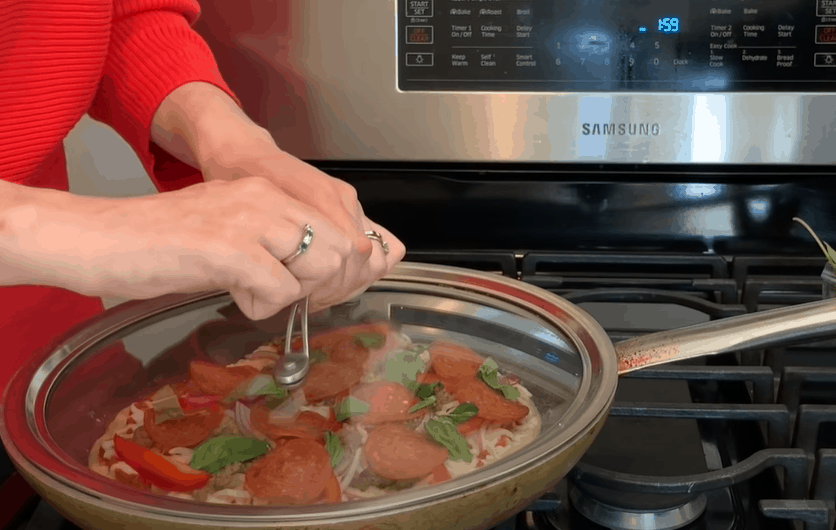
Once you have added your toppings, cover the pan with the lid and cook the pizza on low heat. Covering the pan helps to generate heat at the top to melt the cheese.
Keep a watchful eye and turn off the heat as soon as the cheese starts to melt, which should be in 2 to 3 minutes.
Keep the lid on for an extra three minutes, allowing the ambient heat to completely melt the cheese. Then, take the lid off to protect the pizza from getting too from the condensation.
Serve warm with coffee, beer, or your favorite drink!
How To Cook Pizza Without Oven (Grilling Method)
Grilling is one of the best ways to cook pizza, especially in the summer when you don’t want to deal with a hot oven. It is also super easy, with the result being a lightly charred, smoky Neapolitan-style pie.
Step 1: Prepare the grill
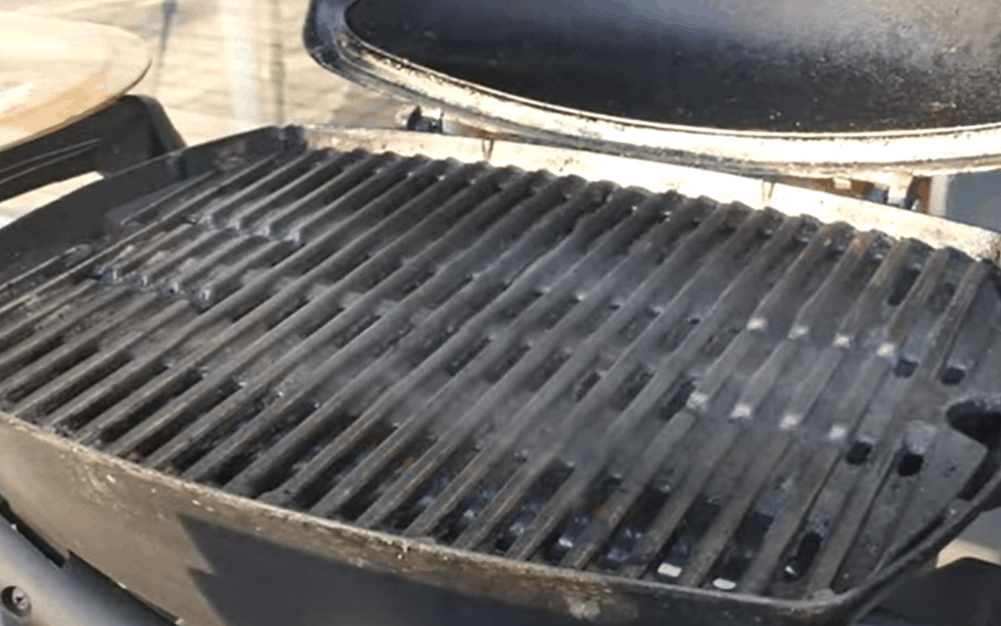
This step will depend on the type of grill you are using. If you have a charcoal grill, there is a way to arrange the coals to ensure that the dough cooks evenly. You can learn more about this here.
Ideally, you should build a bed of hot coals on the sides of the grill, leaving just a few coals in the middle. This way, the edges of the pizza will cook without burning the middle.
If you have an electric grill, set it to high heat at 600 degrees Fahrenheit. The advantage of a grill is that it can attain higher heat levels than an oven. This is good news if you prefer crispy, smoky pizza, but you should be super careful not to burn the dough.
Step 2: Oil the dough
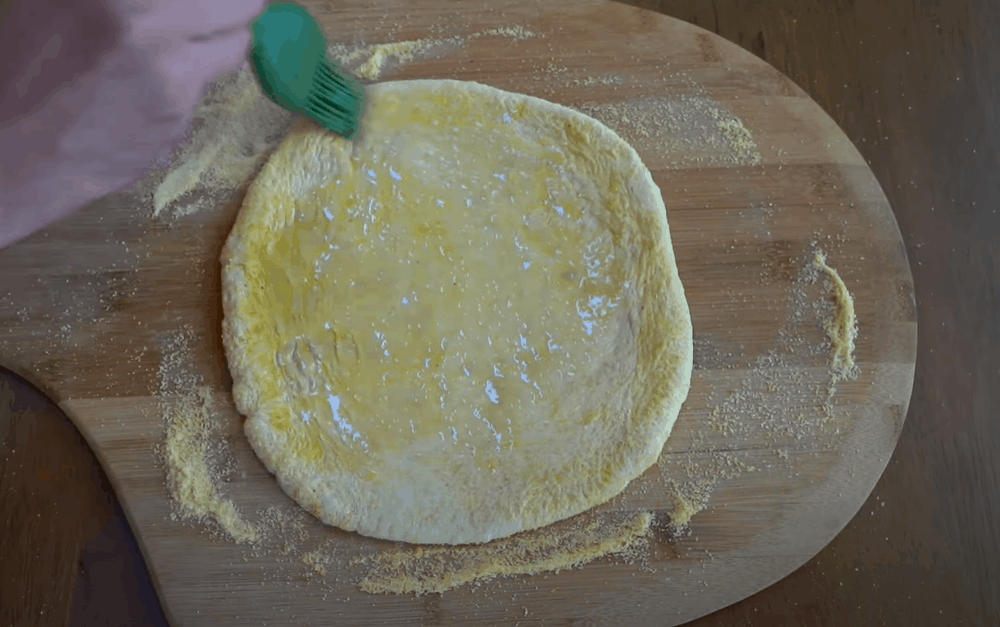
Assuming you have already shaped and stretched the dough, use a kitchen brush to apply a bit of oil on the grill grates. I recommend placing the dough on a flat baking sheet when grilling pizza. This will make it easier to transfer the dough to the grill.
Once you oil the grates, slide the dough from the baking sheet to the grill. Let the dough cook for three minutes or until air pockets form on the top side. The bottom side should also be a light brown. Meanwhile, brush some oil on the top side of the dough as well.
Step 3: Flip the dough and add the toppings
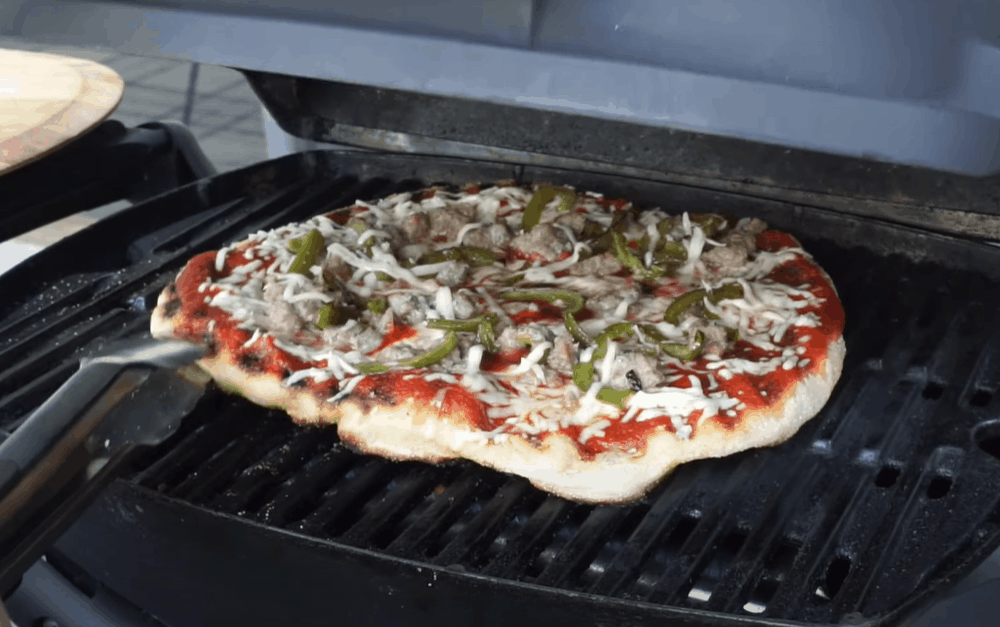
After the three minutes are up, the dough will be crispy and less soft on the underside. Now, using the spatula, turn the dough to cook the top side.
Meanwhile, spread some pizza sauce on the grilled side of the dough and add your toppings. Remember to be moderate with your toppings for a well-balanced, no-mess pizza.
Cover the grill and let the pizza cook for 3 to 4 minutes or until the cheese melts. Use a pair of tongs or spatula to transfer the pizza from the grill to the baking sheet or a heat-proof plate.
Slice your grilled pizza and serve!
More Tips
- Pre-cook your toppings before making the pizza. This will ensure that neither the toppings are undercooked nor the dough burnt. Also, ensure that the toppings are at room temperature before loading them on the dough.
- Consider making a few pizza bases in advance and stashing them in the freezer. It will save you time when you have a pizza party or on those busy weeknights.
- If you are after a chewy rather than a crispy base, opt for a high protein flour. This type of flour contains a high amount of gluten, which gives dough extra elasticity and makes the pizza chewy.
No-Bake Pizza Made Easy
An oven is a quick and efficient way to make pizza. But, the truth is that some of the best pizza is actually not oven-baked—it is grilled or cooked on a stovetop. The good news is that this is something you too can do and as you’ve seen, you don’t need any fancy equipment.
If you wondered how to cook pizza without an oven, now you know that it is entirely possible; all you need is a grill or a skillet pan, and you are good to go. All the best as you try your hand at no-bake pizza!

Julie has five years of experience in the restaurant industry, she decided to share her knowledge about her liking and fondness for food and pizza, of course, cooking as her love language. She’s very passionate about what she’s doing, making all the things she writes regarding pizza recipes, very amazing!